Press info
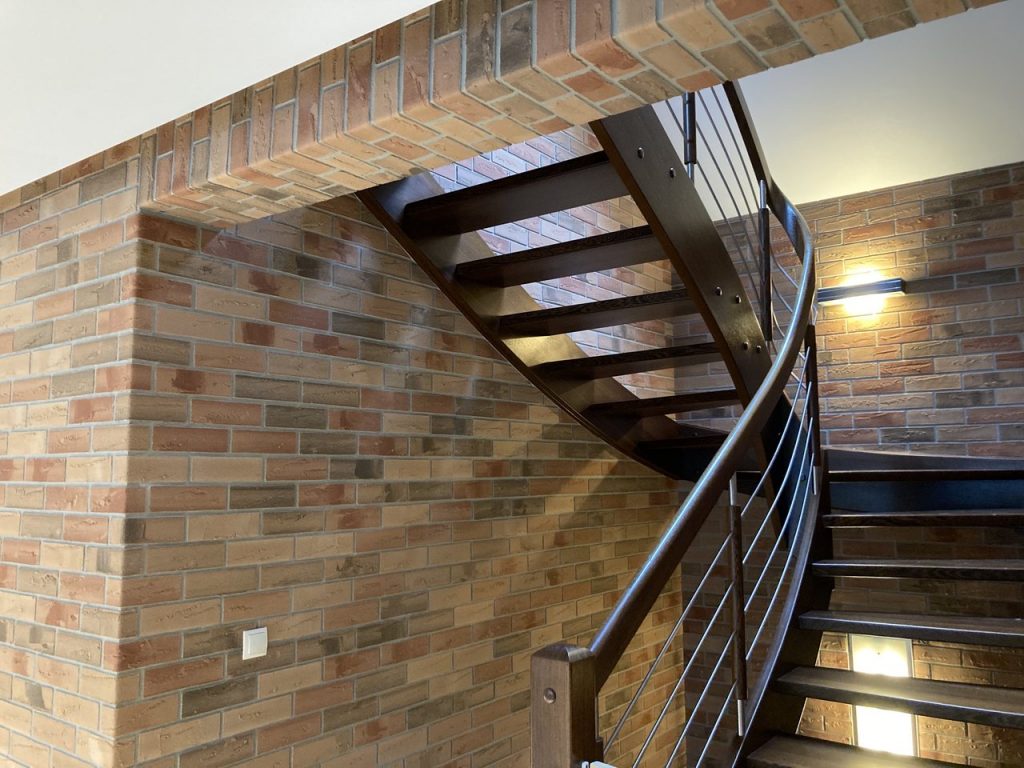
Brick walls are one of the most fashionable interior trends which have won the hearts of design lovers in recent years. It works well not only in industrial style, but also as an interesting addition to classic arrangements. Thanks to the flexible ELABRICK clinker, adding a brick wall to your home doesn’t require a lot of time and the hiring of a renovation crew. Now, in just a few simple steps, you can create an extraordinary interior design on your own.
The ELABRICK system has been designed to make the assembly process as simple as possible. All we need are flexible clinker tiles and glue. The product does not require additional grout, because its role is played by the installation adhesive. Thanks to their flexibility, the clinker façade tiles bend, so they can also be used in corners. Flexible clinker does not require additional impregnation, regardless of whether it is used indoors or outdoors. It takes only five simple steps to create a beautiful clinker installation without the need to hire professionals or buy expensive equipment – all we need are basic tools that we all have at home. Unlike traditional solutions, Elastolith’s product is installed from top to bottom. This allows us to avoid time-consuming cleaning of clinker surfaces contaminated with glue or grout.

Installing flexible ELABRICK clinker is extremely easy and can be done without much effort even by people who have no experience in renovation and construction work. In order to create a wall which will enliven our interior and introduce a unique atmosphere, we need only three basic tools – a serrated spatula, a brush and scissors or a knife. A string to mark the level, a pencil, a tape measure and a spirit level will also be useful.
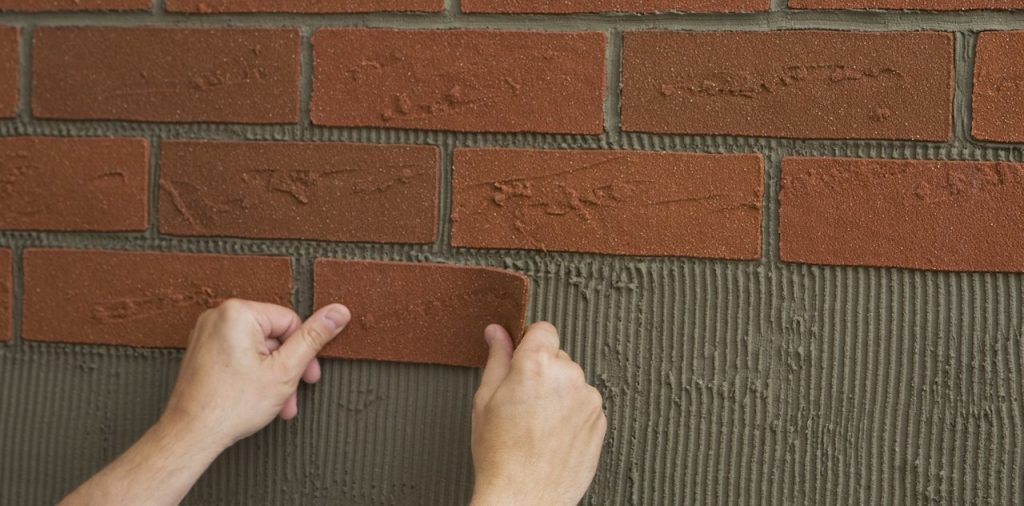
The first step is to spread ELABRICK adhesive with a trowel over an area of approximately 1 m2. The thickness of the layer should be 2 mm. The adhesive is also a grout and is available in seven colors to match the clinker. Then press the ELABRICK tile into the fresh, damp adhesive – all over the surface. The spacing between individual tiles should be between 12 and 14 mm. The tiles can easily be cut to the required size with scissors or a wallpaper cutter and the scraps left over can be used for further installation. With flexible clinker we can easily finish the corners – the tiles are flexible which gives the possibility to bend them in the right angle. When working in low temperatures, the tile should be warmed in the hands before bending to prevent it from crumbling or breaking.

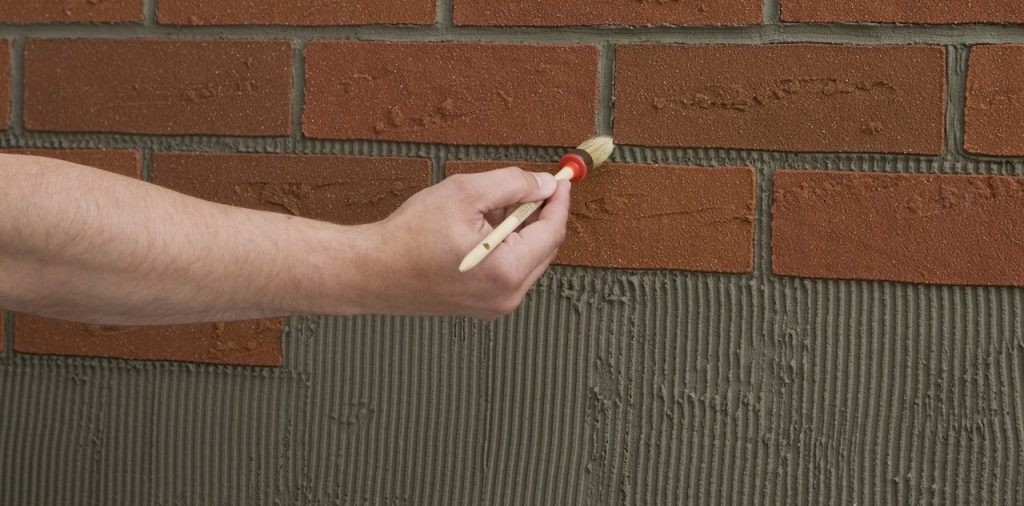
The last step is to smooth the adhesive between the tiles. Use a moist, flat, 12-mm brush to carefully spread the adhesive over the edges of the tiles. This will prevent the penetration of moisture between the mounting compound and the clinker, which could reduce the durability of the wall. After that, all we have to do is wait for the glue to dry and we can enjoy our new brick wall, which will enliven our interior and give it a unique character.

Flexible clinker ELABRICK is a perfect solution for people who want to change the character of their interior with little effort. It saves not only time, but also funds associated with hiring a professional renovation team, and the resulting effect will allow us to enjoy an arrangement with a modern character.