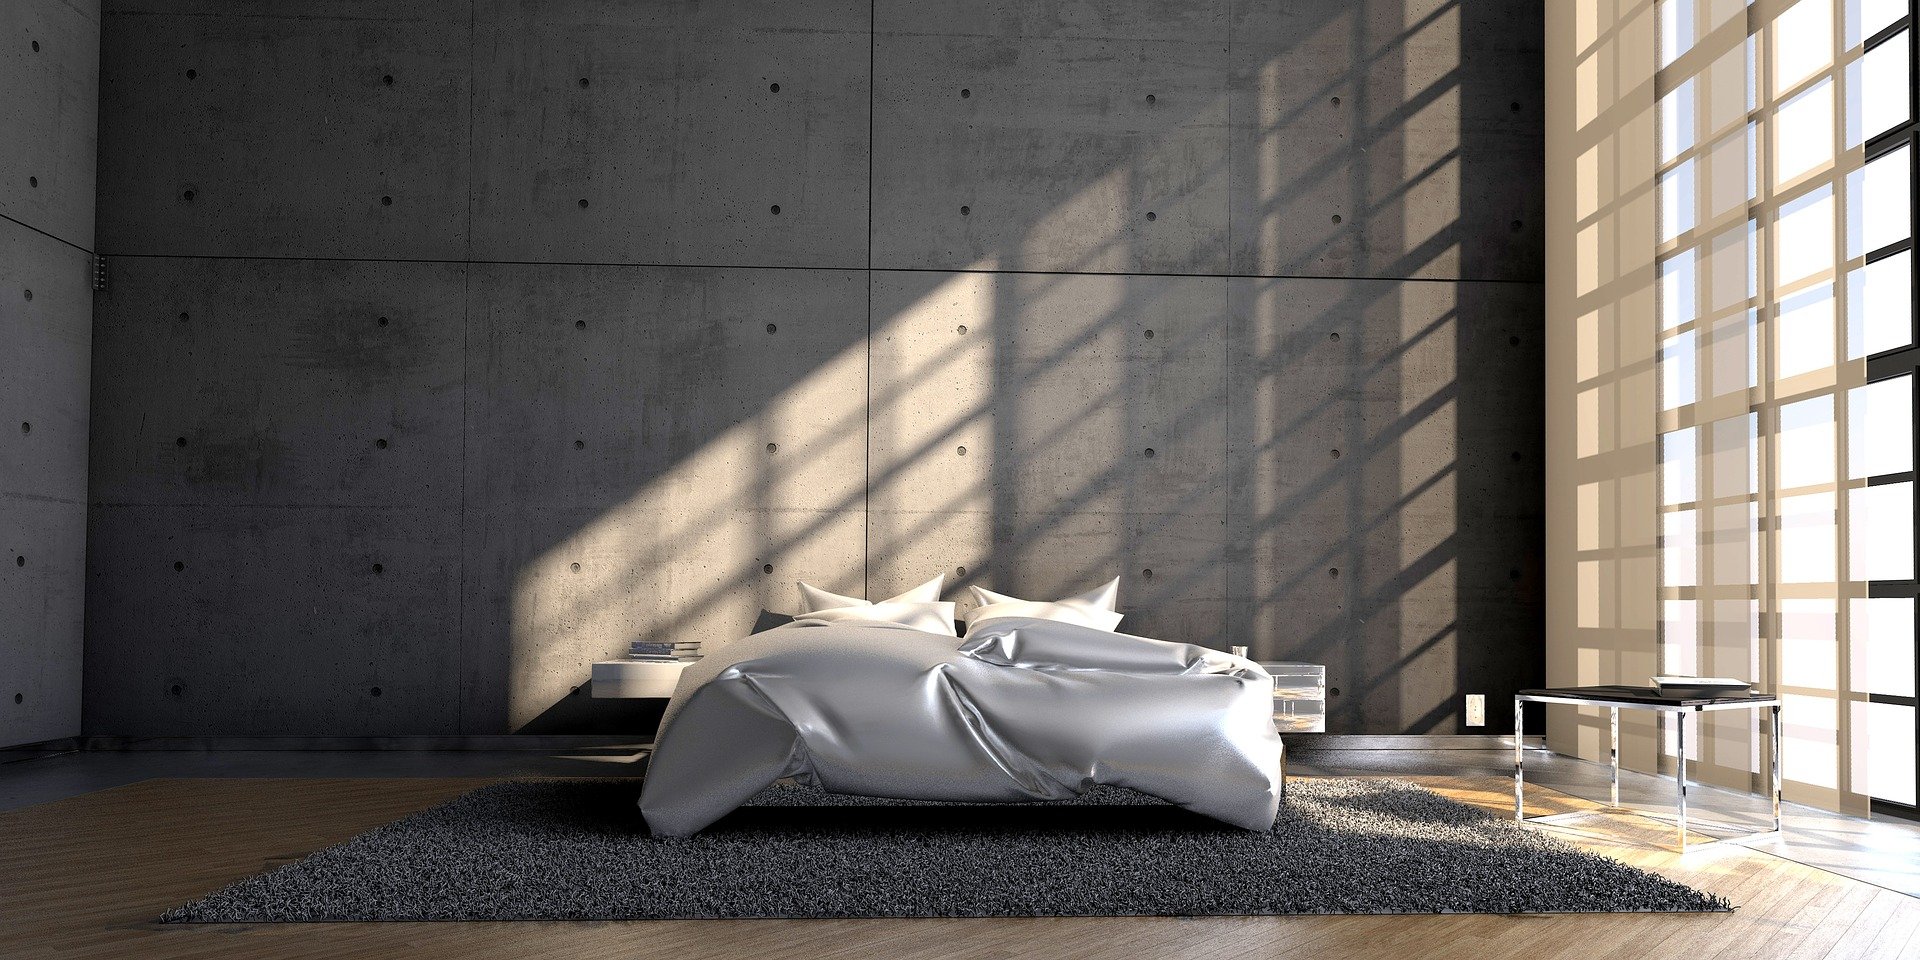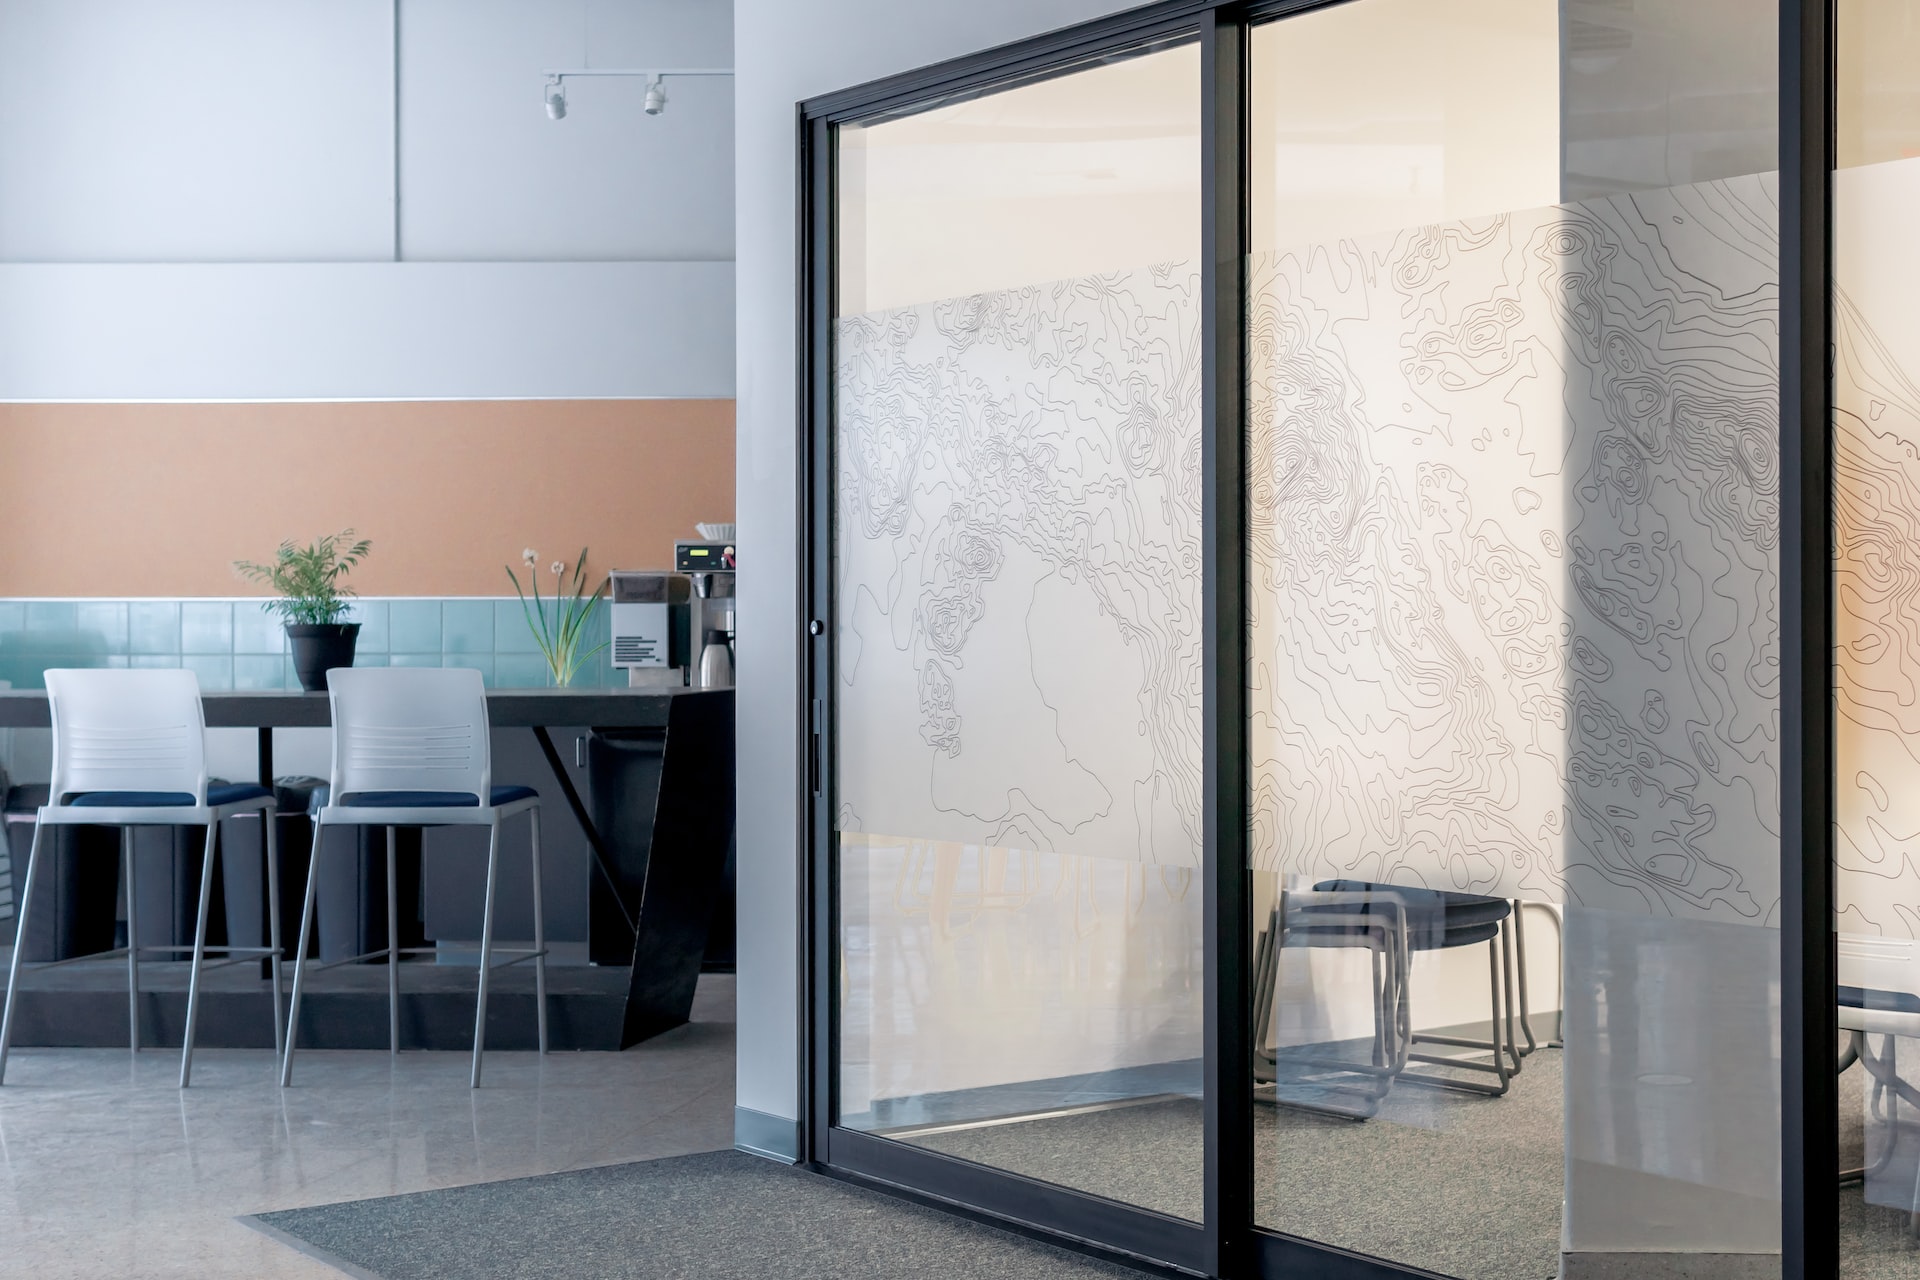
Plasterboards are perfect as finishing materials in interiors, thanks to them it is possible to make partition walls or finish interiors in a quick and easy way. Their wide choice makes it possible to use them even in bathrooms. So how to finish interiors with their use and how to install them in a fast way?
Plasterboards are most often sold in stores in sheets of 600 or 1200 millimetres wide, 2000 or 4000 millimetres long and 9.5 or 12.5 millimetres thick. Thanks to this you can easily match them to the dimensions of the finished room. An additional advantage of this material is that it can be freely cut, adjusted to your needs and room dimensions. Sheets of this material are usually mounted on specially prepared frames made of wood or metal with screws. However, there is a much faster method that allows you to finish the interior with their use, and it is the installation of plasterboard by gluing to the walls of the building
Installation of plasterboards (or: gypsum boards) on adhesive mortar is possible only for their finishing, in the case when it is performed on previously bricked up walls. It consists of 9 steps
Walls on which the plasterboard is to be fixed should be properly prepared beforehand. For this purpose it is necessary to finish installing any electric and possibly sanitary installations in the case of kitchens and bathrooms and then clean them of dust and dirt. Thanks to that, the glued boards will gain better adhesion
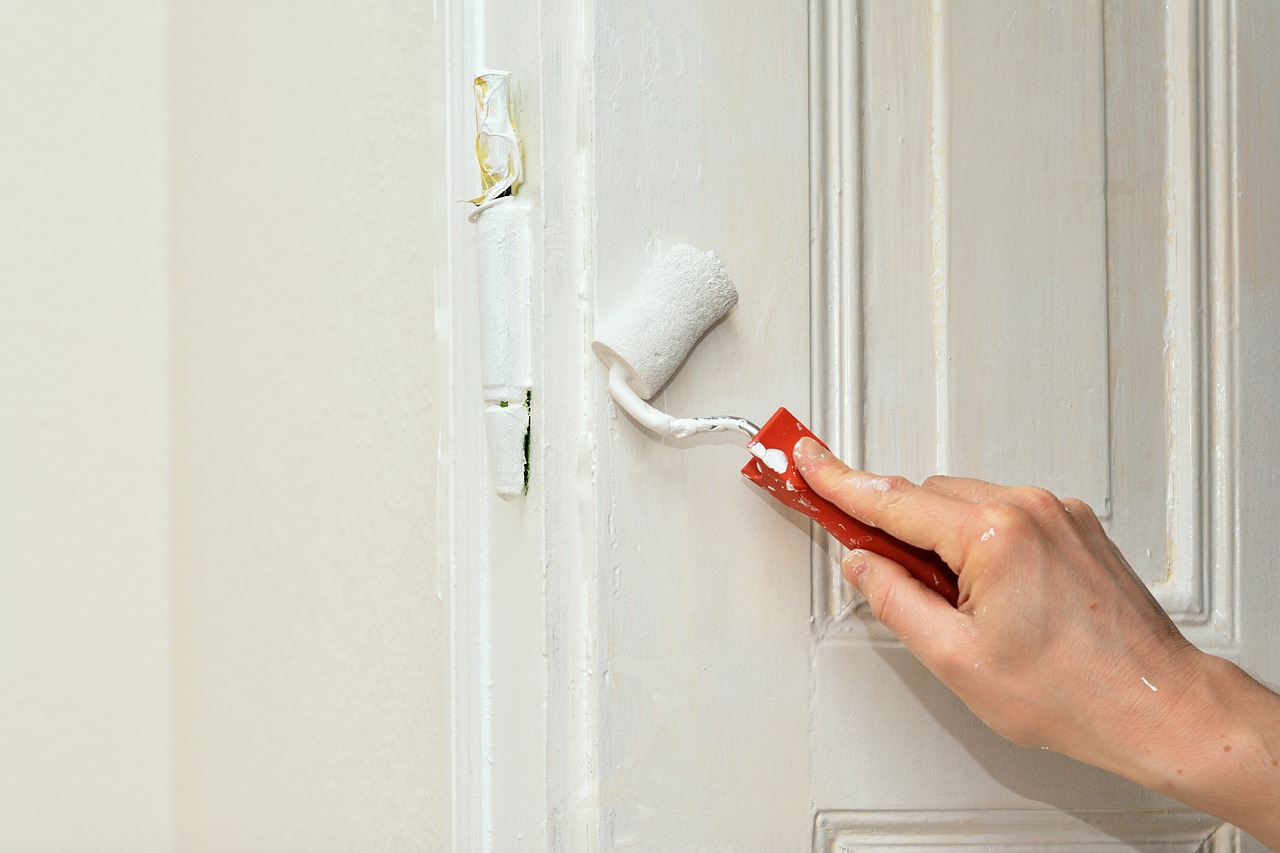
The prepared surface should be then primed. This procedure will help even out the absorbency of the substrate, as well as strengthen it. In order to do that, it is best to use commonly available in supermarkets primers for porous and absorbent surfaces inside the building. It is applied in a thin layer with a wide brush. Make sure to reach the corners of the wall joints in particular
The primed walls should be left to dry for a day or two. Only then they will be properly prepared for further stages of work
While the walls are drying we can start preparing plasterboards. They should be cut to appropriate dimensions and holes should be made in them for electric sockets and light switches. An electric jigsaw can be helpful as it will speed up these works
When the walls are already dry and the boards are ready, you can move on to preparing gypsum adhesive. It should be mixed according to the instructions on the package, so that its consistency is smooth, without visible lumps. This is best done with a mixer or a drill with an appropriate tip, but remember to use slow speed
This step starts the proper installation of plasterboards. The previously prepared adhesive should be applied to the surface in portions in the form of patches 60 centimeters apart in the case of the installation of 12.5 mil thick plasterboards and 40 centimeters apart in the case of 9.5 mil thick sheets. On the other hand, the distance between the adhesive patches in one row should be about 25-30 centimeters
Plasterboards should be glued on the slices applied on the walls. However, remember to place spacers on the floor which can be the remaining pieces of plasterboards after cutting
After the plasterboards have been glued, they should be plumbed within 25 minutes. For this purpose a long spirit level will be useful, which after being applied to the wall will indicate how to correct them to obtain the desired level. After 25 minutes, the glue will begin to set and will prevent the plates from moving, so it is so important to do the work just at this time.
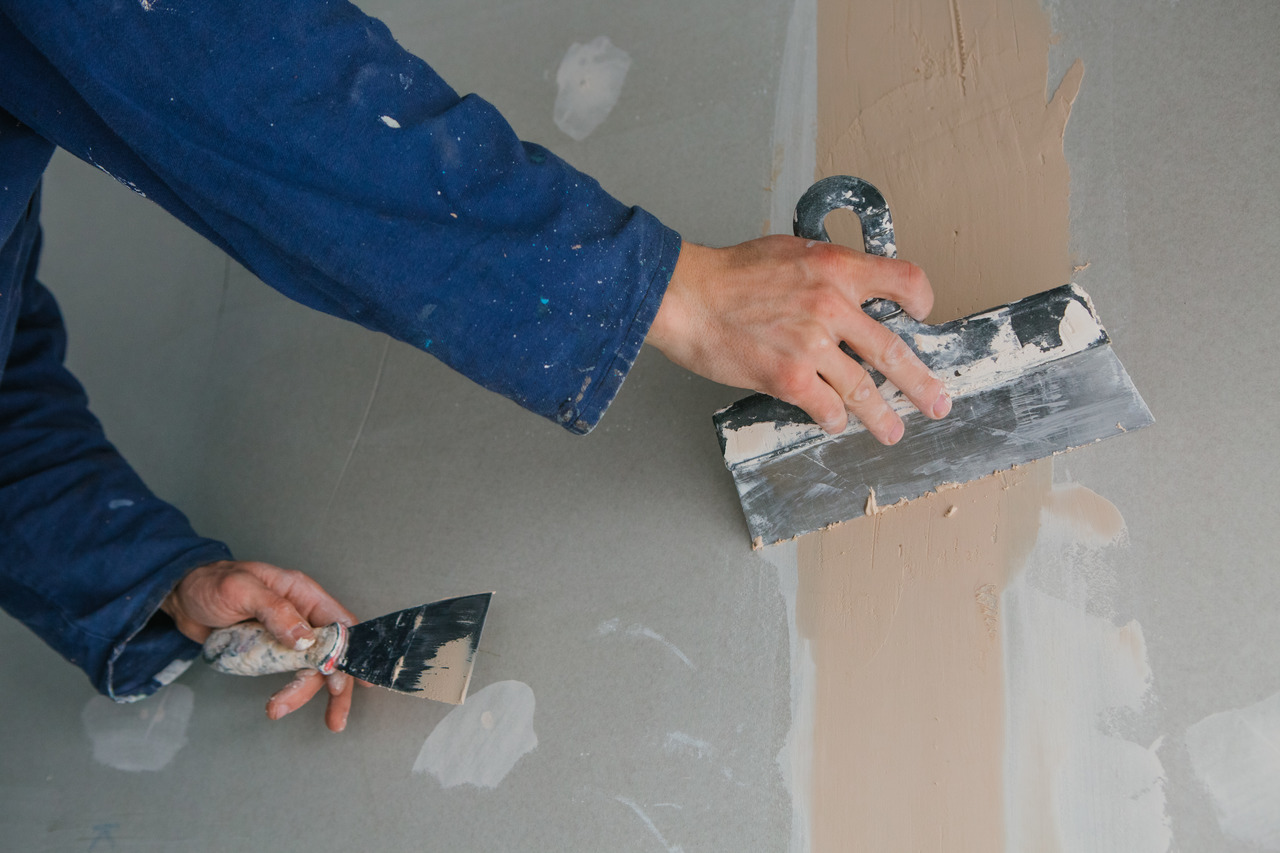
After the panels are level, you can proceed to making joints between them. It should be done with the use of gypsum put on the earlier applied reinforcing tape in the places where plasterboards meet, which will prevent cracks of the joints in the future
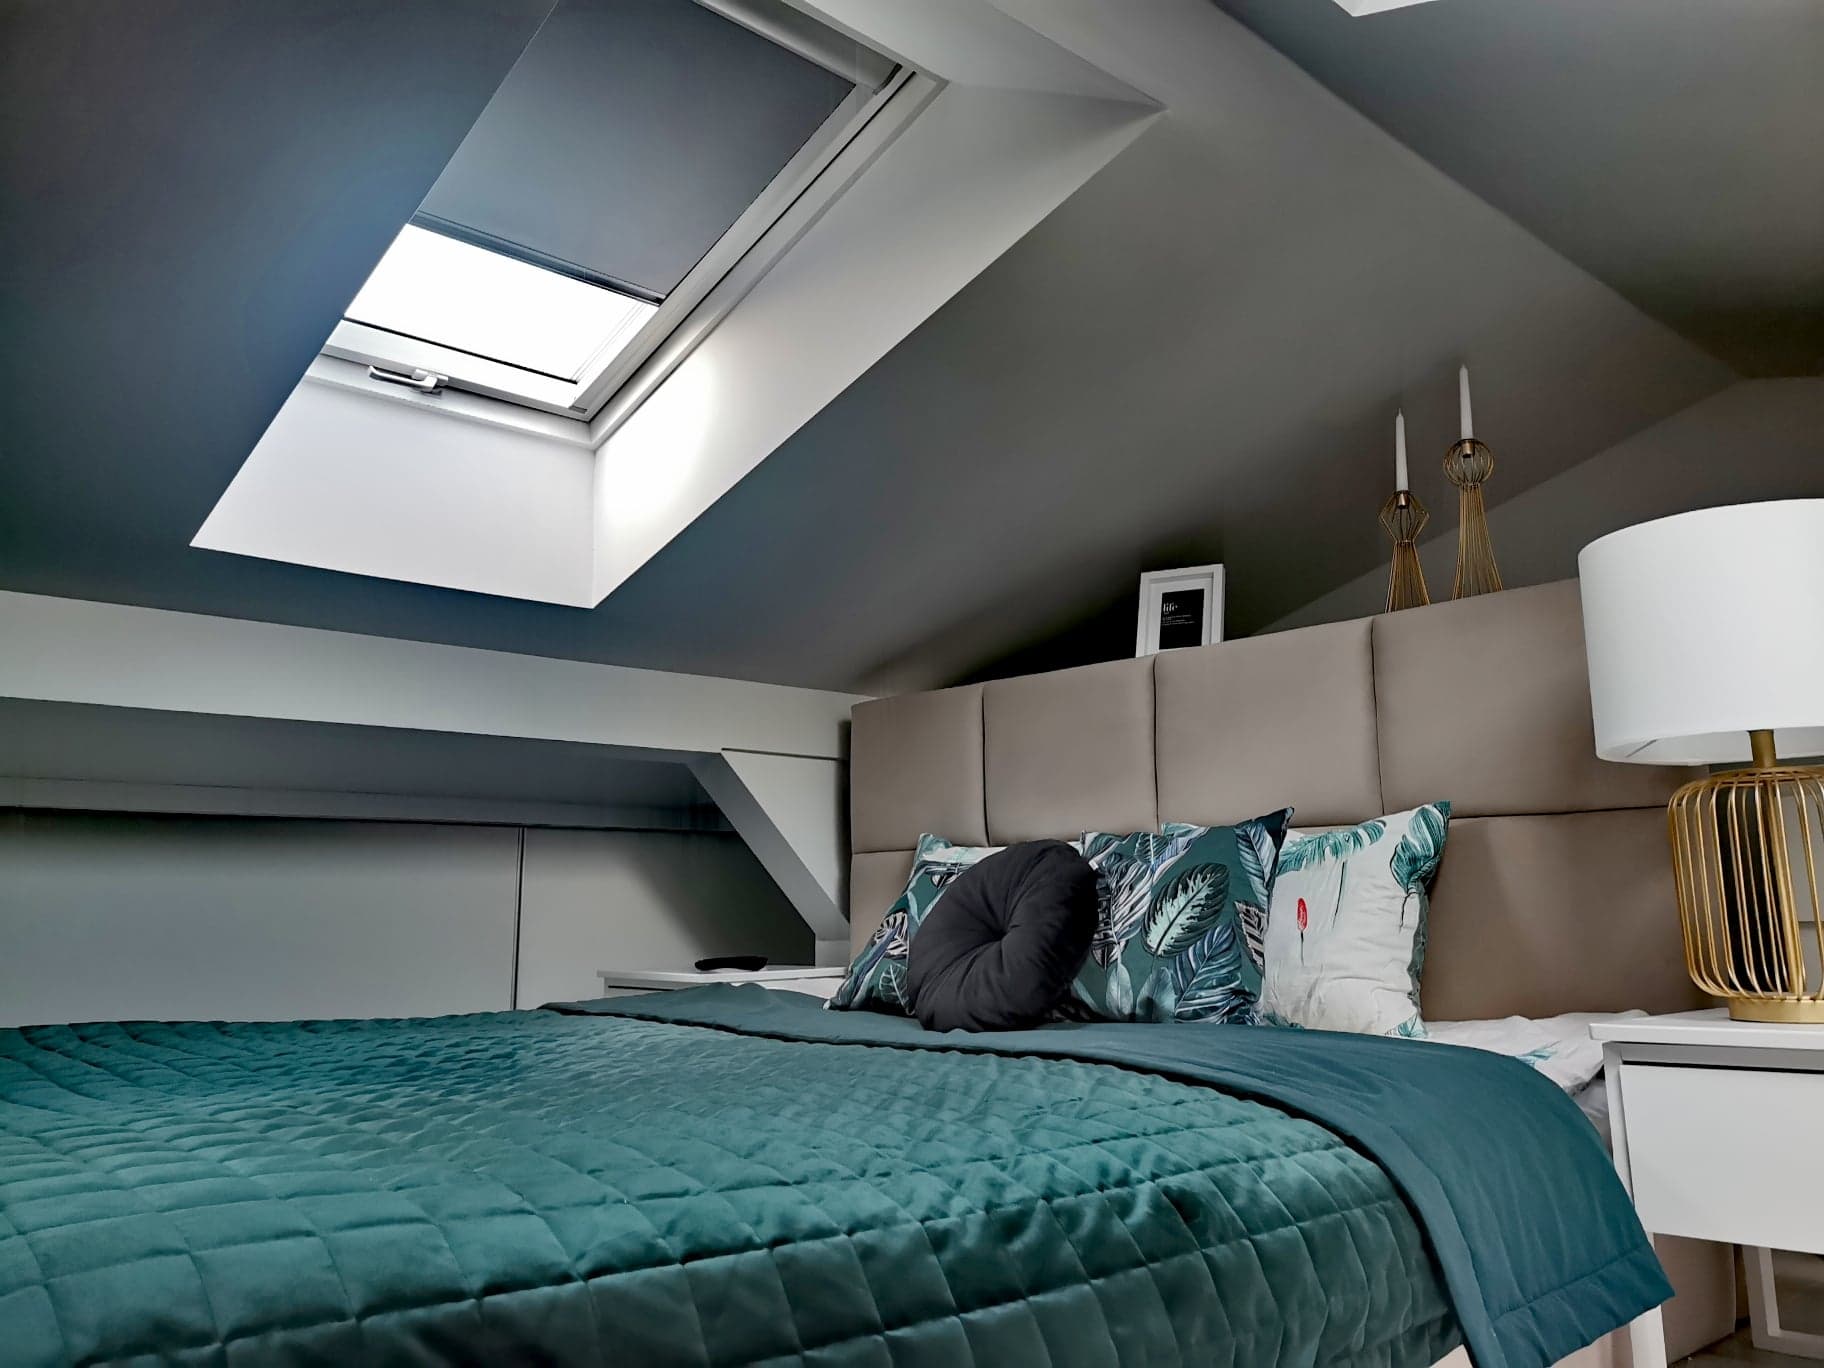
A wall prepared this way is now ready to be finished by painting, wallpapering or tiling. However, it is worth remembering that the plasterboard assembly with the use of this method should be carried out at the temperature of at least 10 degrees Celsius which ensures appropriate binding of the adhesive