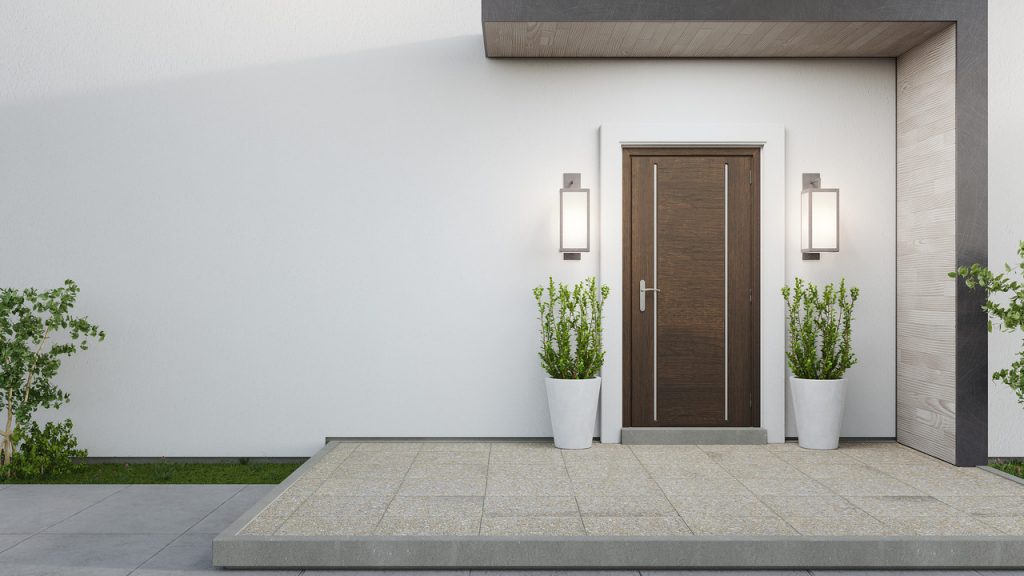
Proper installation of exterior doors is a chance for their long functioning, great appearance and, above all, protection of the house against burglary. However, you can perform this task on your own provided that you adhere to a few basic rules.
An easier start to this task will have people who happened to replace the interior doors before, which happens more often and is common practice. Previous window replacement will also be useful experience.
The moment that is indicated as optimal for the installation of exterior doors is before finishing the floor. This is the first important point to bear in mind: it is necessary to take into account the position of the subsequent layers, which translates into a higher lintel position in relation to the current “level 0”.

Preparatory activities also include checking the measurements of the door opening. It cannot have the same dimensions as the frame. It should be wider on each side by 1.5 cm. Before installation, the reveal must be cleaned and leveled.
Before you set them in the wall, you need to be sure that the door has not been scratched or damaged during transport. You also need to make sure that there is no manufacturing defect, and the kit contains all the necessary components, which the manufacturer provided for installation
Installing exterior doors yourself requires gathering a number of tools that will make it possible to do the work. Fortunately, these are usually typical elements of home toolbox equipment, ie:

The thickness of the wall determines the depth at which the door leaf will be installed in the door opening:
Proper positioning of the door leaf is necessary because of the desire to eliminate the thermal bridges that, if created, will strongly affect the energy disadvantage of the building
Completion of preparations and gathering the necessary tools allows you to proceed to the proper installation of external doors.
After unpacking the frame components, place them on a flat and hard surface. If the substrate will be tiles or panels – put the cardboard on them, so as not to damage the floor. Connecting the elements should not be difficult; they are now designed in such a way that you can do it yourself
Carefully place the frame in the wall, so that it is at the right depth according to the type of wall, in order to avoid thermal bridges. The frame must be immobilized with previously prepared wedges. Immediately pay attention to have the same distance from the wall on each side
Already after the initial placement in the opening, the distances of the frame from the walls should be measured once again. At this point, it will also be necessary to use a spirit level and protractor – make sure that the levels and right angles are maintained
Once you are satisfied that the frame is securely wedged, the door leaf should be hinged in place. This is necessary to make sure that there are no problems when opening and closing it. In case of difficulty – there is still the possibility to manipulate the frame
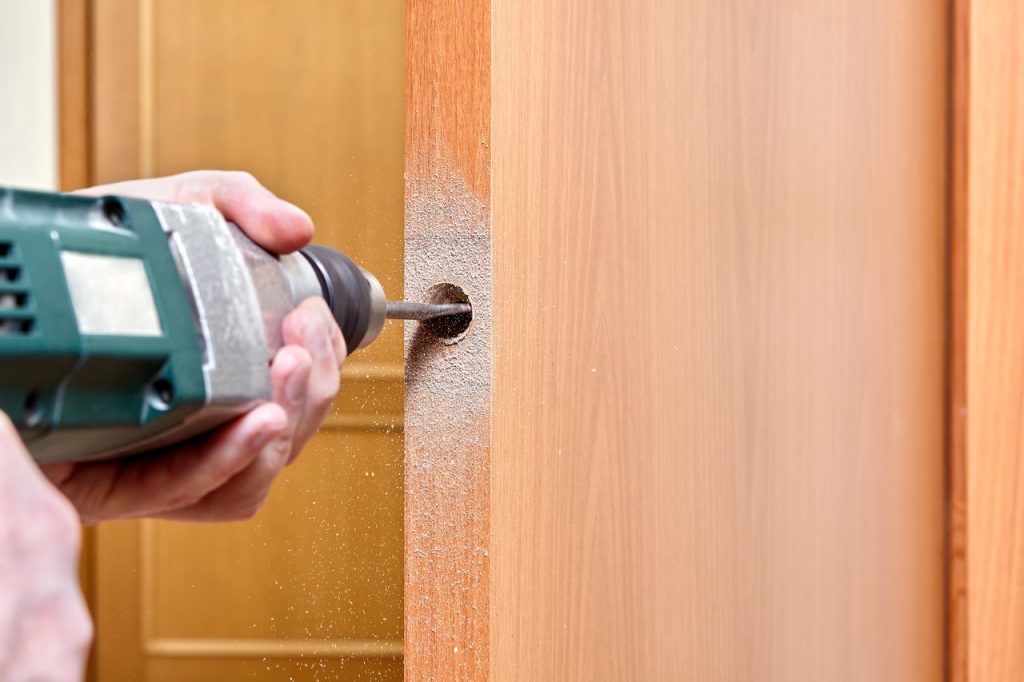
If the test is successful, it is time to mount the door. Holes are drilled in the frame and masonry, fixing it with dowels or pegs. It is 6 or 8 fasteners (in case of burglar-proof doors)
The gap between the frame and the wall is protected with polyurethane foam. It is necessary to choose a low-pressure product in order to avoid deformation of the door frame. The frame itself should be secured with painter’s tape beforehand so that it does not get dirty.