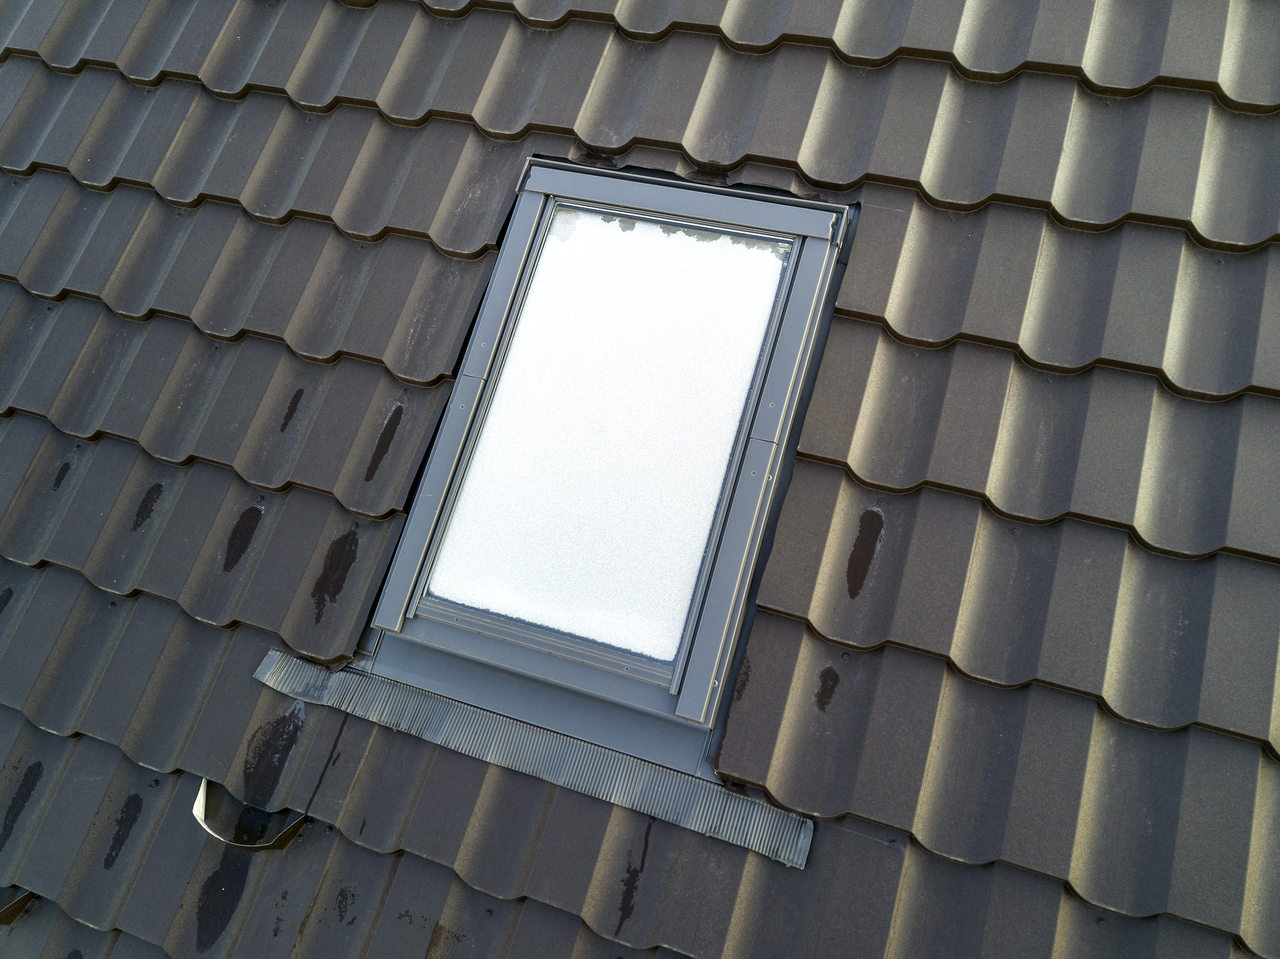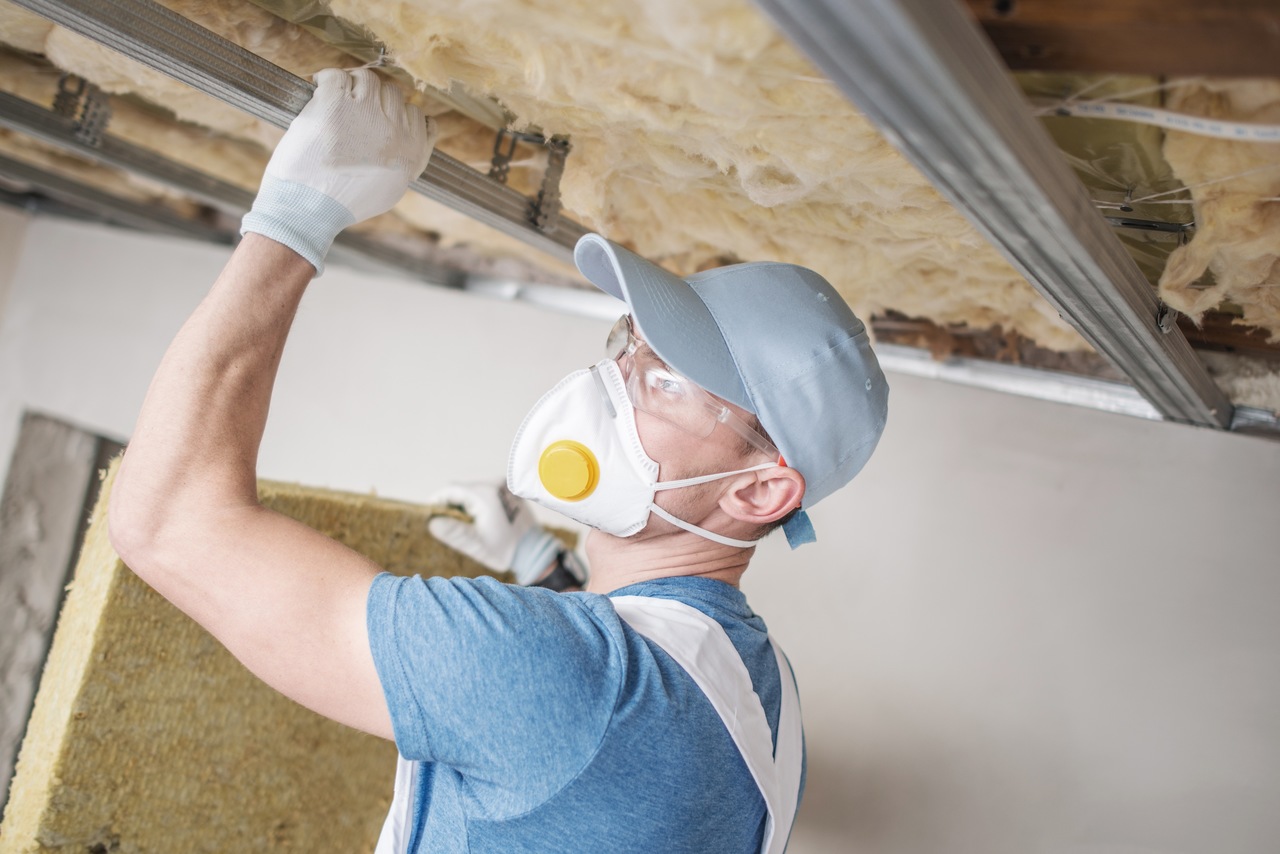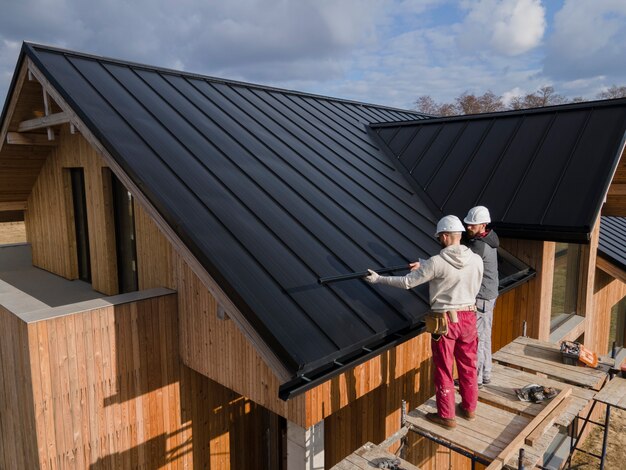
Are you planning to insulate your home, but don’t really know where to start? First of all, you should prepare the ground for this. Check how to do it step by step
The base on which the building insulation is to be fixed is responsible for its durability and proper setting, which in turn guarantees obtaining the intended results, i.e. reduced heat losses. Therefore, proper preparation of the foundation before starting the insulation work is an extremely important point that should never be overlooked.
Proper preparation of the foundation can be successfully summed up in five simple steps, the execution of which guarantees full functionality of the insulation, as well as its durability and reliability for many years
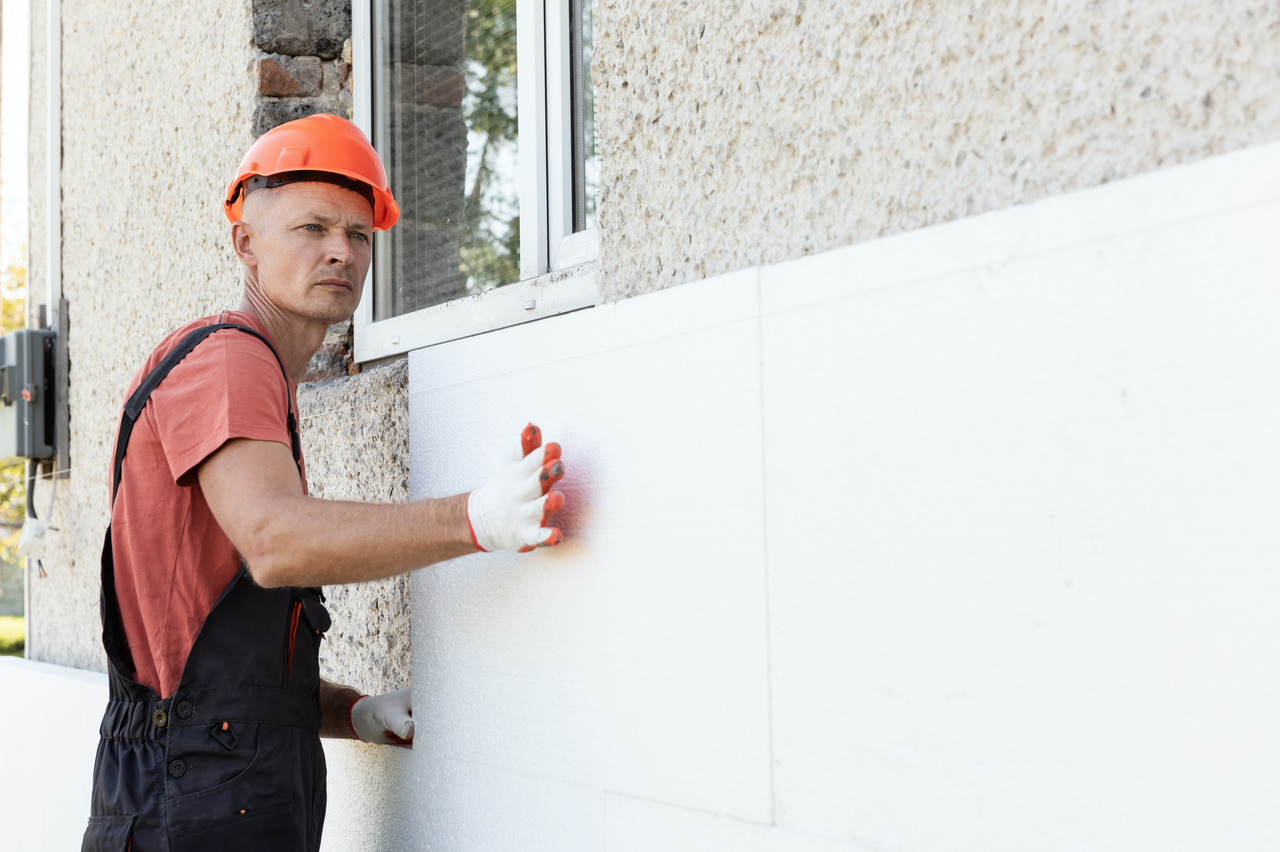
The first thing that needs to be done before the insulation layer is to clean the foundation. It should be dry and free from elements that could affect the adhesion of the adhesive. Dust, dirt and greasy stains are best removed with a pressure washer or a special brush
The next step is to check the cohesion of the plasters applied on the facade of the building. In order to do that, it is necessary to tap them gently on the whole surface. Sections where the sound of tapping will be deafening should be marked as they will need to be repaired or completely stripped and then restored using specialist masonry or plastering mortars
On the substrate intended for the installation of thermal insulation, it is necessary to perform a wetting test, which will help us determine how absorbent the surface is. To do this, it is enough to spray the wall with a sprayer and see whether the water is absorbed into it or drips down the surface. In the first case, it will require additional impregnation, while in the second case you can easily install insulation on it
The penultimate stage of preparing the foundation for laying the insulation is the evenness test. A mason’s batten is required, preferably 2 metres long. It should be applied horizontally and vertically to the surface. If it adheres to it in both planes, no additional work is necessary. However, if the trowel deviates from the surface either vertically or horizontally, it is necessary to level a given fragment of the substrate in order to maintain its continuity, as even a slight unevenness may adversely affect the adhesion of the mortar on which the thermal insulation is to be glued
The last step is to perform an adhesion test on the substrate. It consists in fixing about 10 polystyrene samples with dimensions of 10 × 10 × 10 centimeters on a 10 millimeter layer of grout and leaving them for 24 hours. After this time, the samples are detached from the substrate. Proper bearing of the substrate will ensure that the Styrofoam will not be torn off in its entirety, but will only delaminate. If this does not happen, it means that the substrate needs to be scraped and redone for better adhesion
The above advice on proper substrate preparation will work especially well for ETICS insulation and BSO method. They can be applied to walls made of prefabricated concrete elements, monolithic concrete, bricks, concrete or ceramic hollow bricks as well as aerated concrete
Lack of proper preparation of the substrate before thermal insulation works in most cases results in separation of the insulation and its damage, thus generating additional costs associated with its repair. Therefore, this preparatory stage should never be omitted during thermal insulation of buildings.