Sponsored article
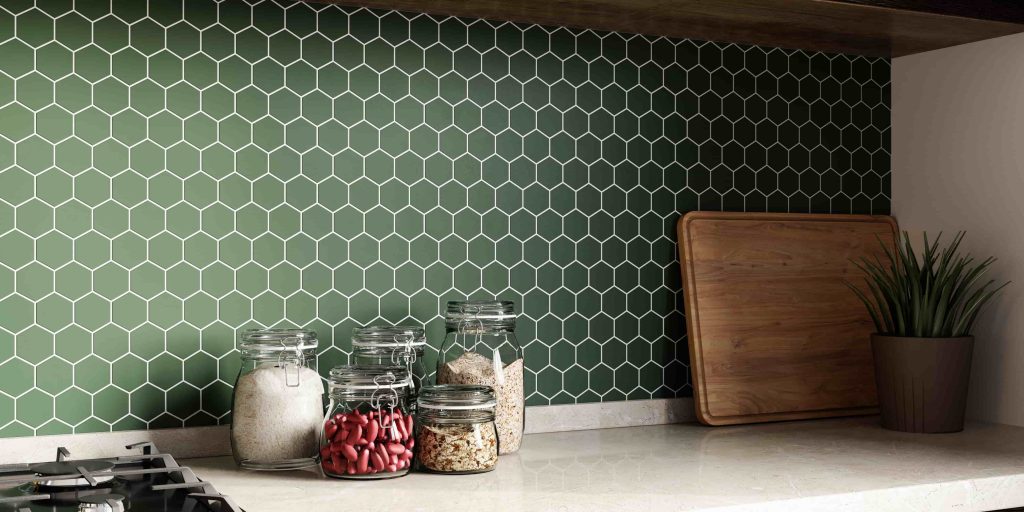
Laying hexagonal tiles may seem cumbersome, but with a good design, the right calculations and a few tricks, you’ll create an unconventional wall or floor in your kitchen or bathroom. Before starting the renovation, remember to provide yourself with all the necessary materials and tools.


To start, choose tiles that suit you in terms of size and pattern and color. It’s best to choose an accent wall and try to get a good line on the top and sides. Also, decide whether you will place the tile with the side up or the top up
Before proceeding, do your calculations and create a design on paper or in a graphics program such as Adobe Installer. Keep in mind that tiles are honeycombed, so dimensions will vary.
The best tool for cutting tile is a saw that cuts wet. Be sure to wear earplugs, as the cutting equipment is extremely loud. In addition, wear gloves to prevent cutting yourself with the tile and goggles so that no debris can get into your eyes. When working on walls, you can’t lay out everything at once. You will have to cut and smooth as you go. If you want to avoid pipes, it is recommended that you use a tile saw with a diamond tip that moves around the drill to create perfect circles
When installing tiles such as kitchen tiles or bathroom tiles, it is useful to cut the cardboard in the shape you think you need. This way, you can place it in the spot you want and trim it if necessary. Instead of laying the tiles, get the shape, size and angle using a texture and then you can cut the right material based on that.
Mix the mortar in small batches so you don’t have to worry about it hardening in the meantime. Remember to protect things like the bathtub and the floor in the bathroom, as scraping off dried mortar can be very difficult.
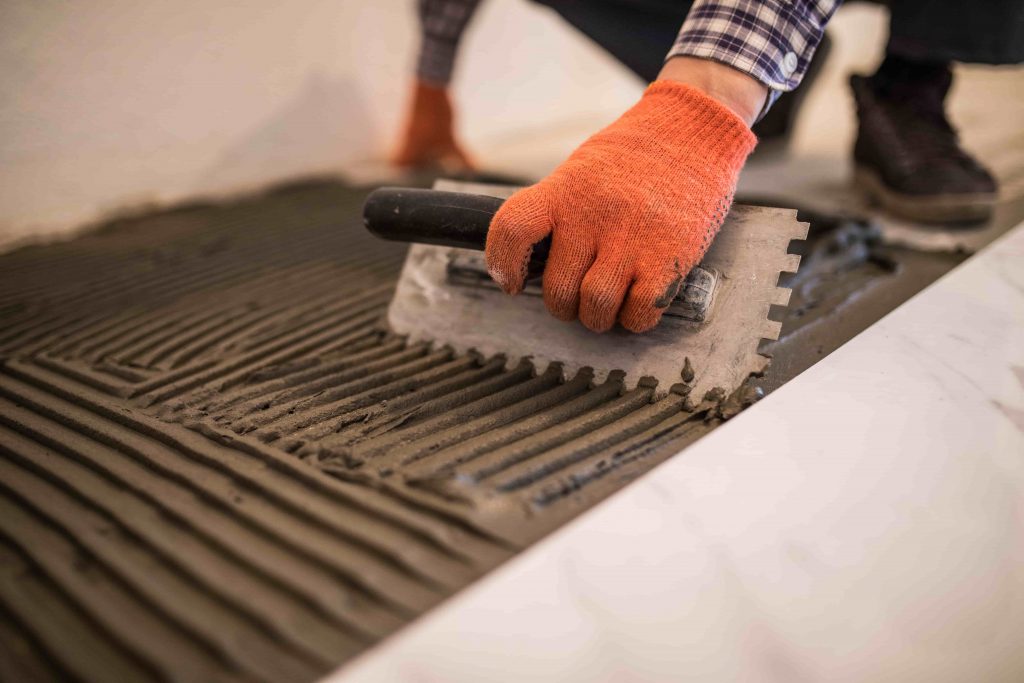
Apply and spread the mortar, leaving bumps so that the tile adheres to the material without the risk of the mortar spreading out from underneath. Try to be precise as the tile grips immediately and is difficult to move afterwards.

The last step is choosing the grout. But before you do that, clean everything thoroughly to make sure there are no fragments of grout anywhere. When you’re ready, apply the grout to the seams and gently wipe it down with a sponge. Once all the material has been applied, check carefully to make sure there are no air bubbles or grout residue anywhere.
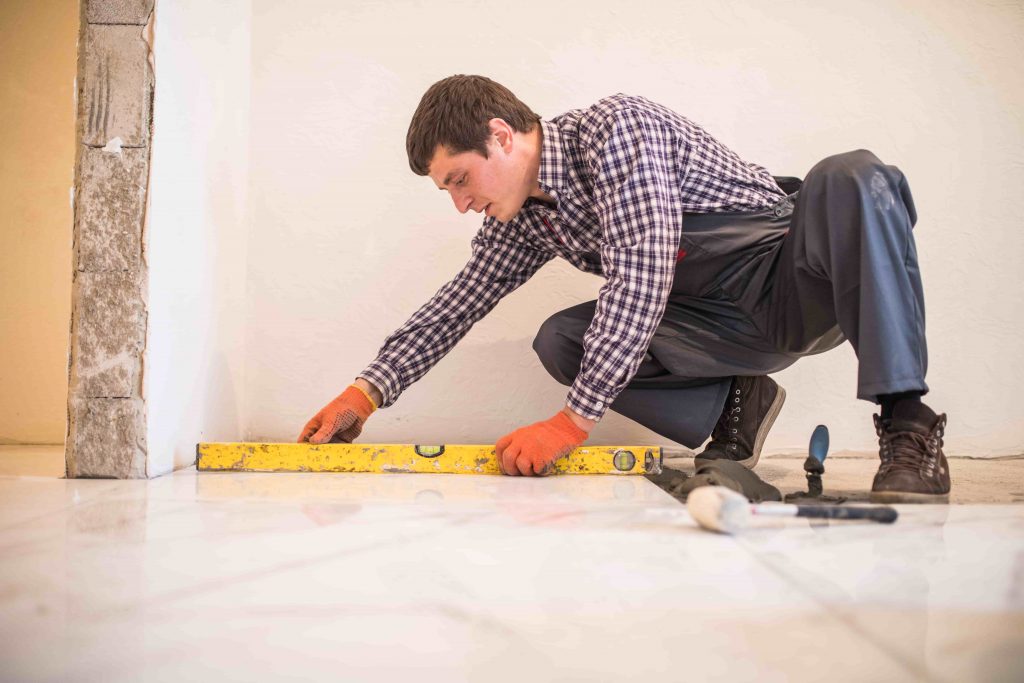
Floor tiles are not very different from the tiles we use to line the walls. Be sure to read the label well and choose tiles that are meant to be walked on. Pick a starting point and level everything before you start cutting or laying to make sure you don’t get any small pieces near the edges. For trimming, you can use the same drill bit you used for the wall tiles. Don’t forget to use tile crosses to ensure you get the right lines and spacing
Use a level and check that the tiles are laid evenly. When you use it later, walking on the tiles, especially barefoot, you will feel the unevenness. If you move or bend and press too hard while laying, the tile may crack before the mortar dries. To maintain uniformity, you can use the same grout you used on the wall.