A foundation slab can be used as a base for a new home, garage, and other construction projects. If you want to use this solution, you need to have a basic set of construction skills. Professional construction of a foundation slab affects the longevity of the project, and creating it requires a lot of patience, knowledge and skill. Check out how to make it step by step!
Determine what width the foundation slab will have. Take into account the ground surface and the design of the structure it will support. Remember to be precise with any calculations. If your home design evolves, proceed with new calculations. This will help you avoid unpleasant surprises

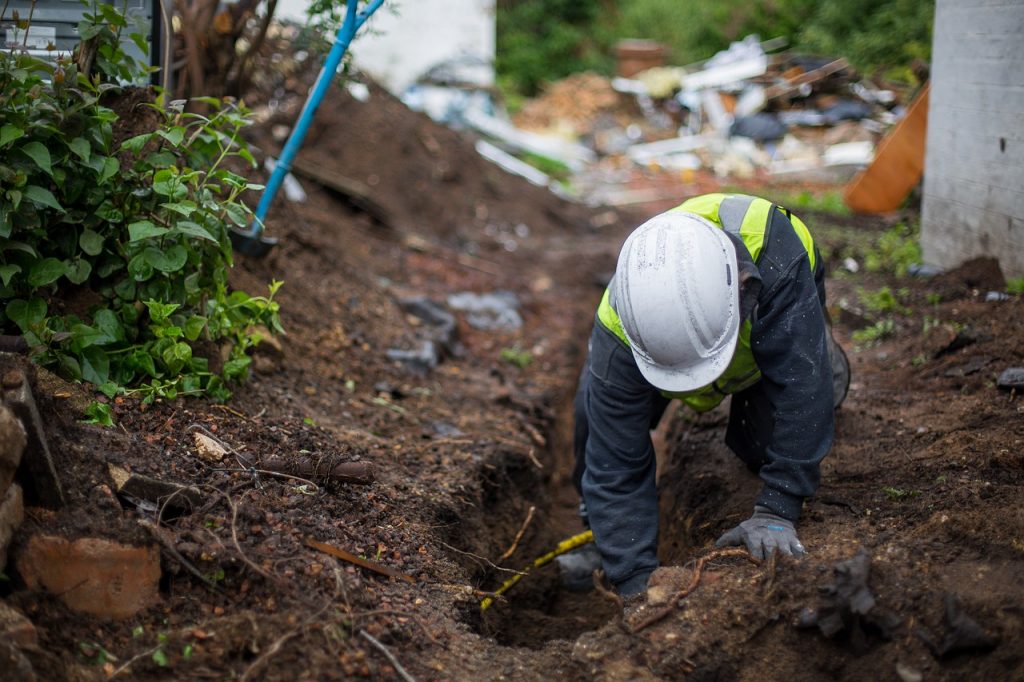
Remove any obstacles from the ground. We are mainly talking about sticks, stones and pieces of debris. You can use a backhoe or a pick and shovel for this. Backhoes will definitely make your job easier. If you are not familiar with their operation, use a professional team
Mark the perimeter of the foundation slab. Drive pegs at each corner. Then measure the perimeter and check if it agrees with your calculations. Make sure twice before you proceed to the next step. Tie a string around one peg and connect it to the others to determine the perimeter. Check to make sure the string is an even distance from the ground all the way around.
Next, make a trench around the perimeter of the slab. Remember to include the estimated weight of the structure you are erecting. The footing provides support for the building.
This is an integral part of any construction project. Although pouring a foundation can cause some difficulty, the process of preparing the surface for a concrete slab is relatively easy. First, frame the area where the concrete is to be poured. You can use 5 by 30 cm boards or pre-made forms for this. Remember to reinforce them with stakes and 5 and 10 cm boards. This way you don’t have to worry about them sagging when the concrete is poured.
Level the ground in the form with shovels and rakes. Use a laser level to make sure the area is completely flat. Now dig a trench along the inside of the mold, about 90 cm from the perimeter. It should be 30 cm wide and 210 cm deep. Remember to do this correctly – otherwise the slab may tilt back and forth as the ground freezes and thaws. Similar excavations should be done in places for the future load-bearing walls of the house.
Press down the earth with a special rammer or jack. The aforementioned tools hit the soil again and again and harden it. For larger jobs, use a construction roller
Now prepare the reinforcement. Push the dowels into the foundation trenches so that the tops of the dowels protrude about halfway into the trench. Tie the reinforcement so that when the concrete is poured, it floats in the middle of the trench and reinforces the base. Now build the rebar grid above the ground. Again, use pegs for this. The grid should cover the entire area in the form, and the bars should be 60 cm apart. This way you will create a lot of 60 × 60 cm squares. Tie the reinforcement with rods and start mixing the concrete.
Mix mortar and sand to create cement. Follow the manufacturer’s instructions. Pour the cement into the footings to cover the entire perimeter. Wait for the cement to dry.
Surround the entire perimeter with 5 × 10 cm or 5 × 15 cm wooden boards to lay the foundation. Nail them at the corners and make sure they can support the foundation slab. Before you start pouring concrete, place reinforcement on the foundation to strengthen the whole structure. Next, fill the entire area with the concrete mixture. Level it with a trowel or wooden board. Wait for the concrete to dry before you start construction. The curing time depends on the type of mortar and the weather at the time of pouring. If you have any concerns or questions, use a reliable construction company.