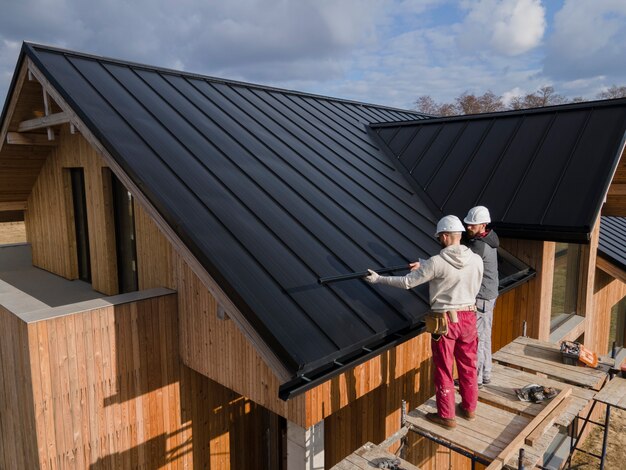
The roof is not only a decorative element, but first of all it is the crowning of the building and fulfils certain functions. Erecting the roof is a very important stage during the construction of a single-family house. It is a complicated, multi-stage process that needs to be carefully planned and professionally handled because roof repairs and renovations are very costly.
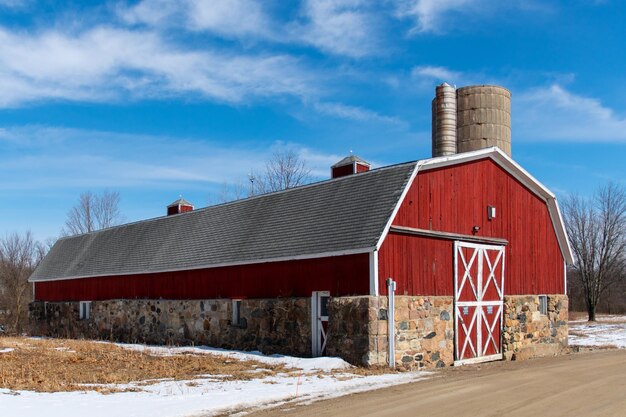
The roof protects and shields the building from the elements, aids in the drainage of rainwater, but most importantly it has a thermal insulation function. Depending on the season it keeps the building warm or cools it down. There are different types of roof depending on the investor’s preferences and development conditions. The most common are: gable, hipped, multi-sloped and abutment roofs. The most popular and most often designed is the gable roof, which is also considered the simplest and most economical in construction. The layout of the gable roof gives many possibilities during the adaptation of the attic. In the case of a gable roof you can get much more space than in the case of a hipped roof
The roof consists of two main parts: load-bearing structure, which forms its skeleton and covering, i.e. finishing. Correct workmanship of the roof is a guarantee of long-term use of the house without the risk of leaks or the appearance of moisture. Let us, therefore, take a look at how a gable roof is created step by step.
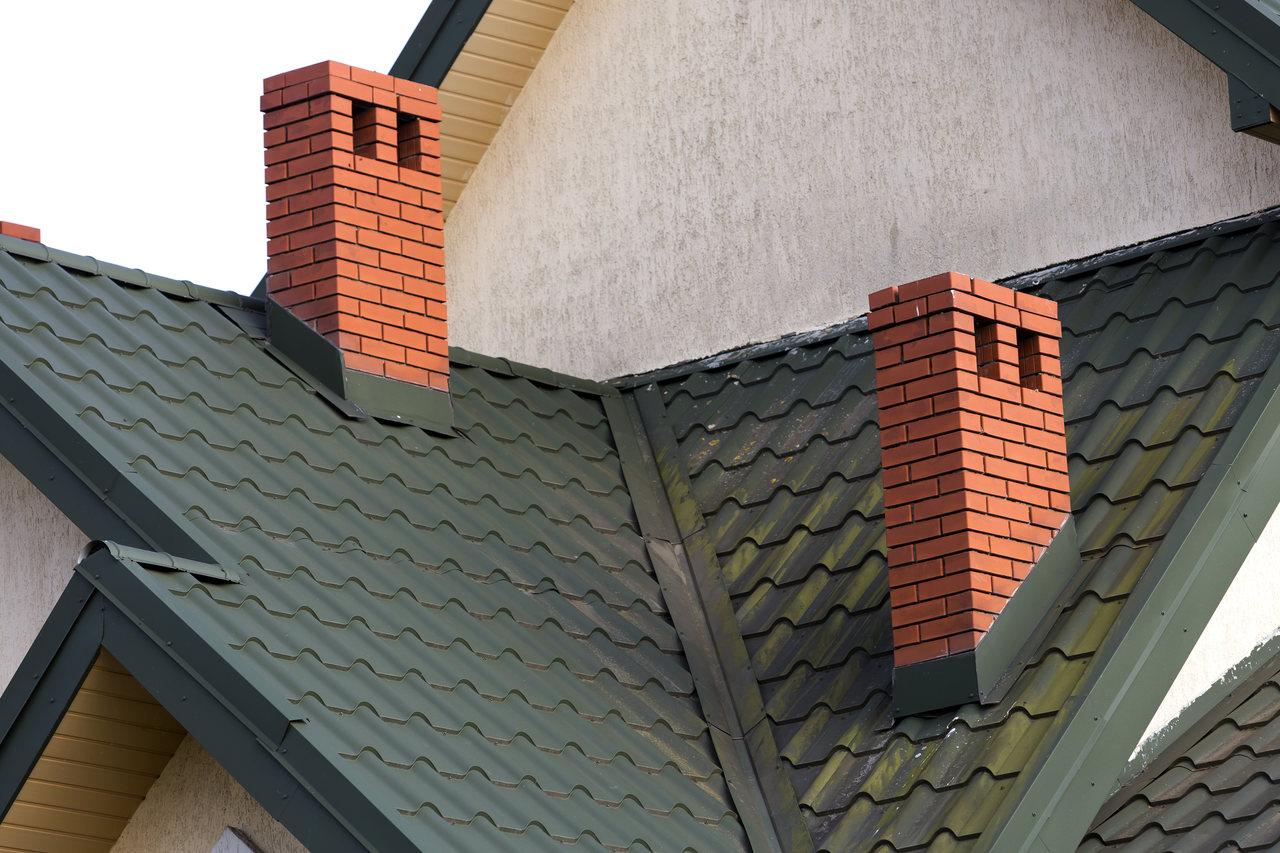
Roof design depends on the type of house and investor preferences. The design also takes into account such things as the number and placement of roof windows or dormers and the degree of roof pitch. At the design stage, the investor should also decide on the type of roofing material, as this has a large impact on the load on the structure. The most popular are: ceramic or concrete tiles or metal sheet
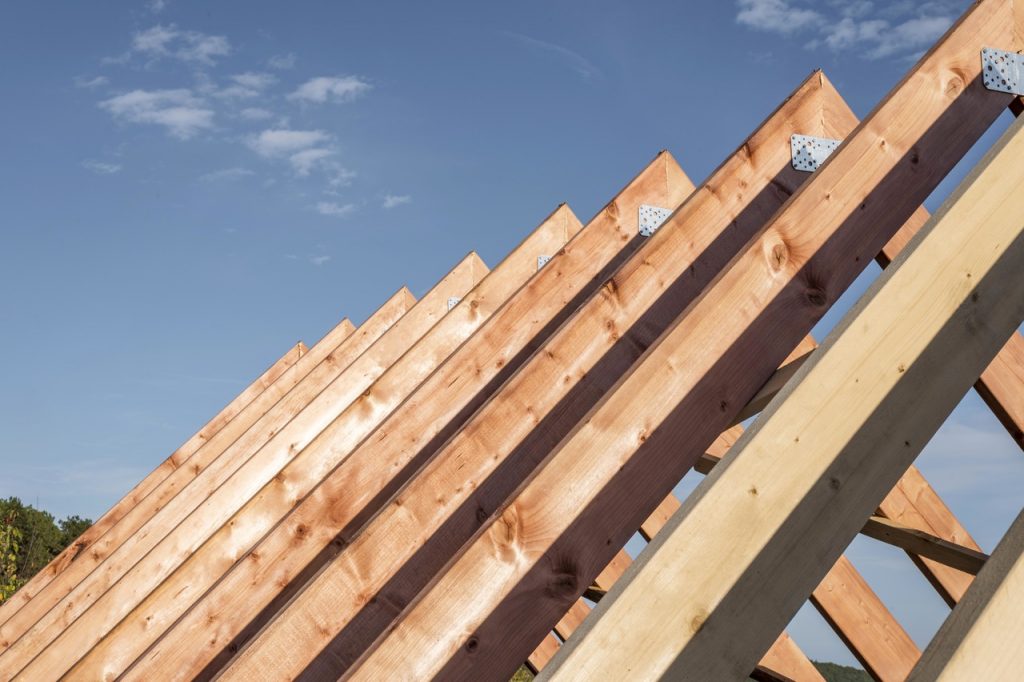
There are several types of roof trusses: collar beams, rafters and purlin and collar beam trusses. The type of roof truss is influenced by the shape of the roof and the size of the building, specifically its width. At this stage it is advisable to choose a reliable carpentry crew because the stability of the roof will depend on a solidly constructed structure. It is also necessary for the framing contractors to familiarize themselves with the roof design. Building of rafter framing starts with fixing of base elements, i.e. sill plate – the element that holds the rafters. Next comes the installation of rafters, i.e. the beams that are mounted at an angle from the ridge, i.e. the highest point, to the load-bearing walls on which the structure rests. The rafters carry the weight of the roofing and the structure itself
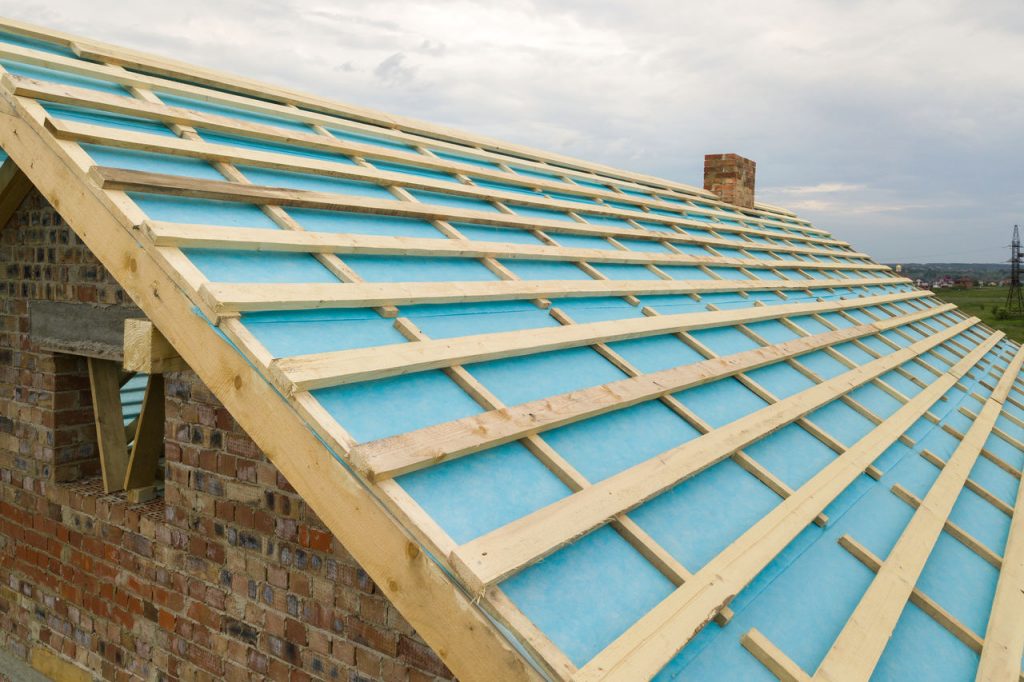
In the next stage of roof construction, the rafter framing structure should be covered with vapour-proof foil which guarantees tightness and waterproofness of the whole structure. Most often the so called initial roofing foils are used, that is vapour-permeable foils through which the water vapour that has accumulated in the insulation layer will be able to evaporate freely outside. When installing the foil one has to remember about overlaps that will also influence the tightness of the roof. Each foil section should overlap the previous one by ca. 10 cm. Most producers mark the overlap thickness with lines drawn on the foil
Roof patching consists in nailing counter-battens to rafters and then, perpendicularly to them, roof battens. Counter-battens have to be fixed on opposite sides of the roof in such a way that they join in the ridge, that is, at the top of the roof. This installation will ensure proper ventilation between the roof membrane and the tiles.
At this stage, the roof is already in the right shape. Now it is time to install all the additional roof elements. Roof windows are installed first. An important role here is played by proper window flashing, which will ensure proper tightness of the entire roof structure
>> See also: How to protect the roof from moisture?
The next step is installation of a gutter strip and gutters, whose proper installation is also very important for proper drainage of rainwater, which will go to the gutter and not flow down the façade. The next stage is eaves construction, which consists in attaching eaves grating that prevents birds or small rodents from entering the roof.
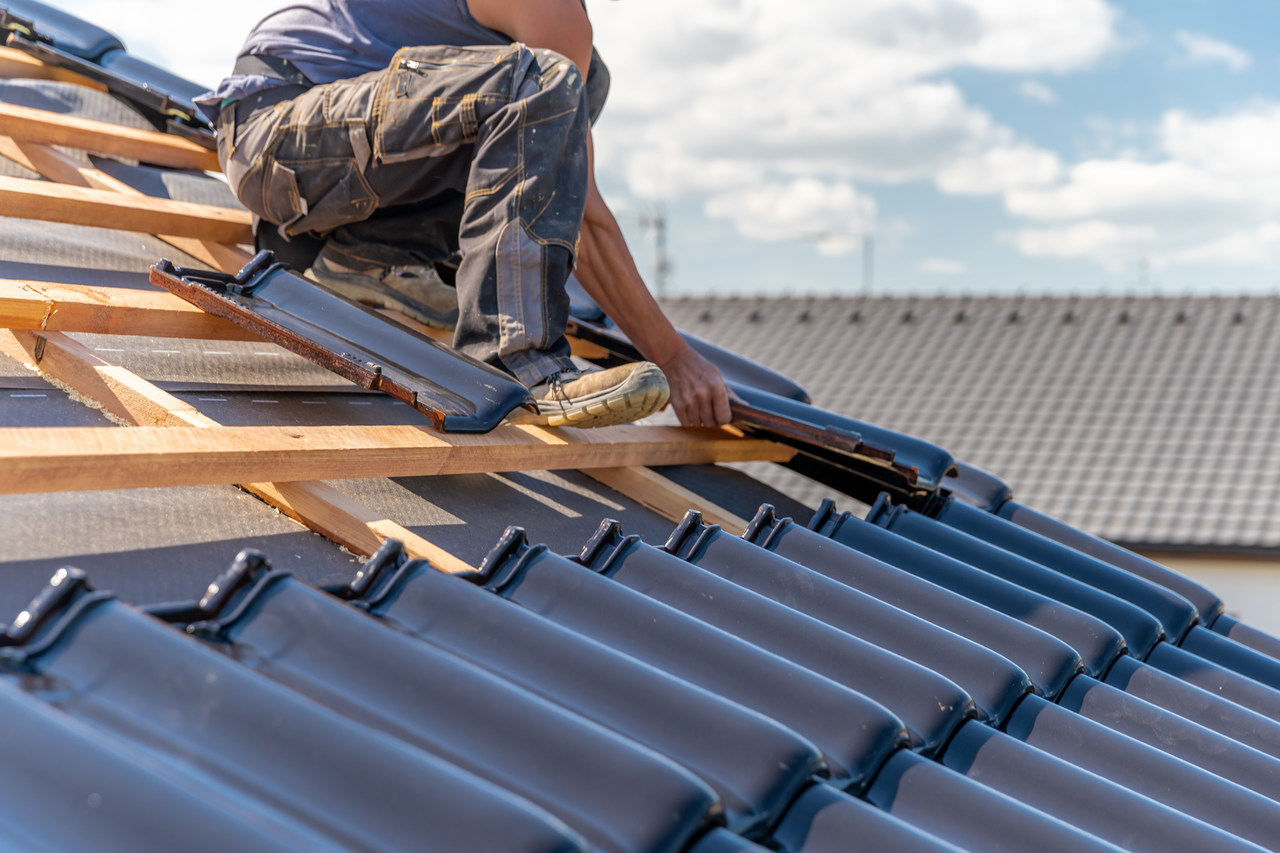
After completing the assembly of the supporting structure, waterproofing and installation of other elements it is time to lay the appropriate roofing. Tile or ceramic tile is the most popular choice. The market offer is huge. In terms of type and color, these products look great and also guarantee really good properties of the roof. The final stage of the roof construction is the insulation, which is done on the loft side, after all external works are finished.