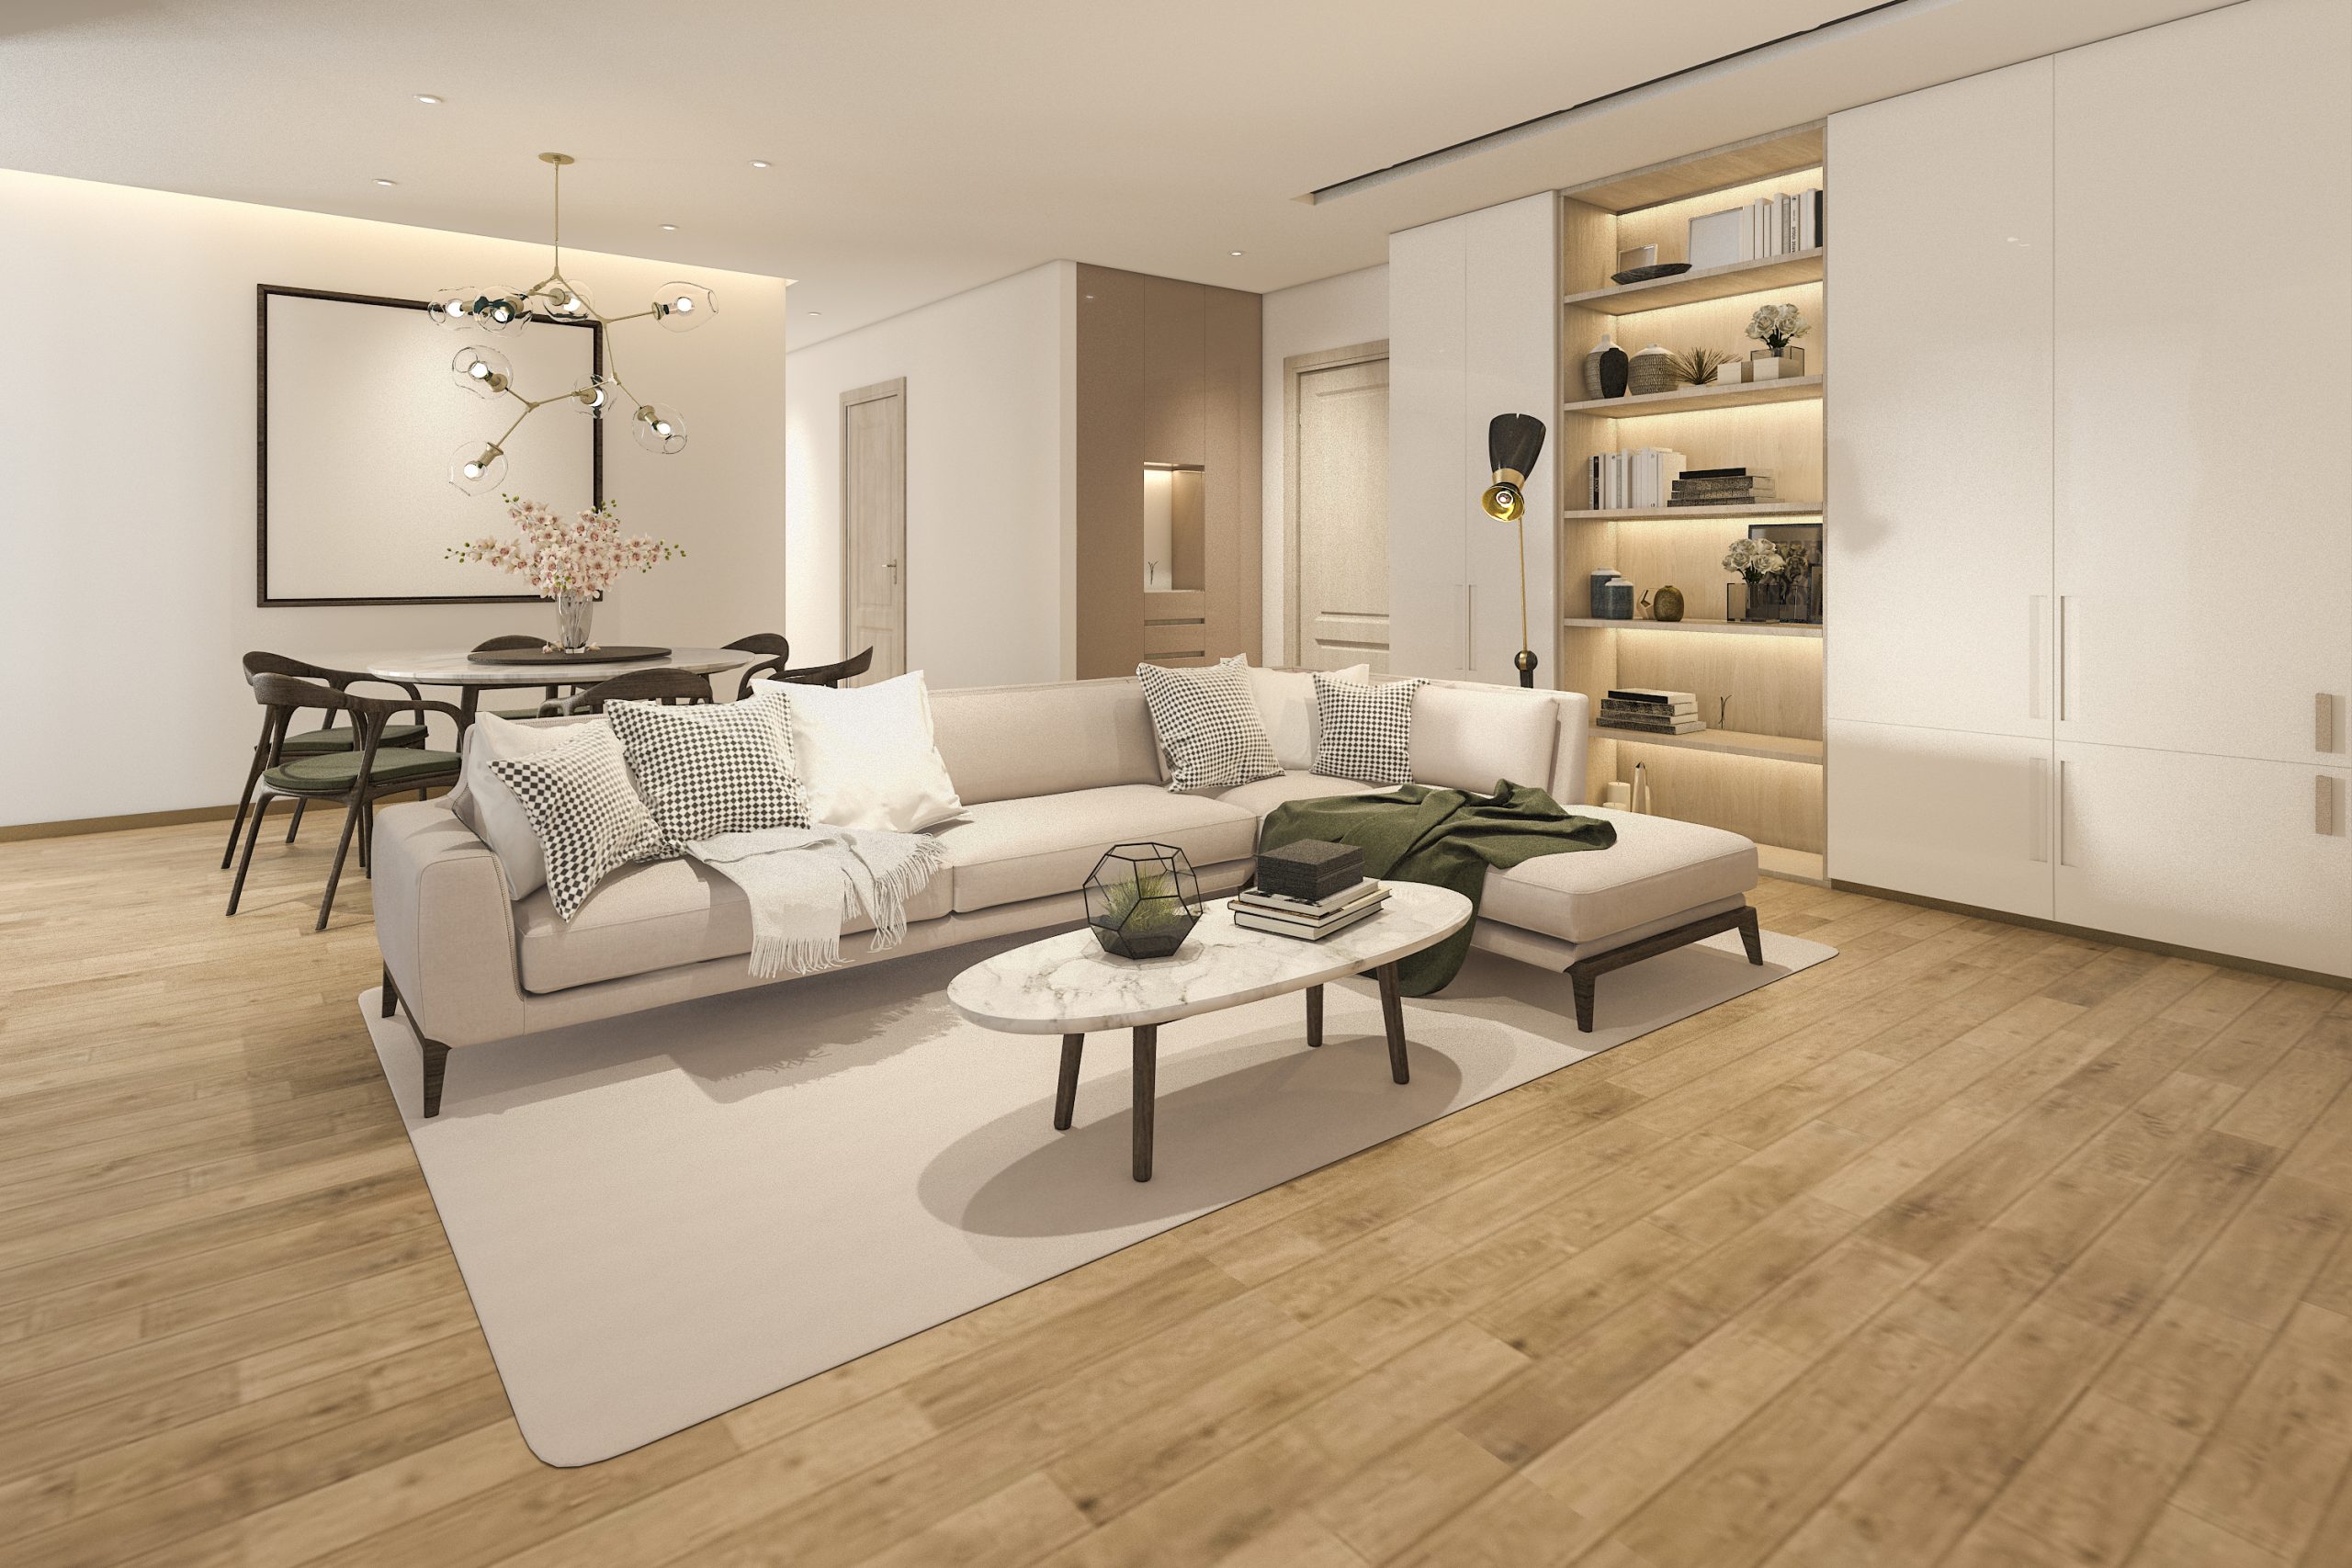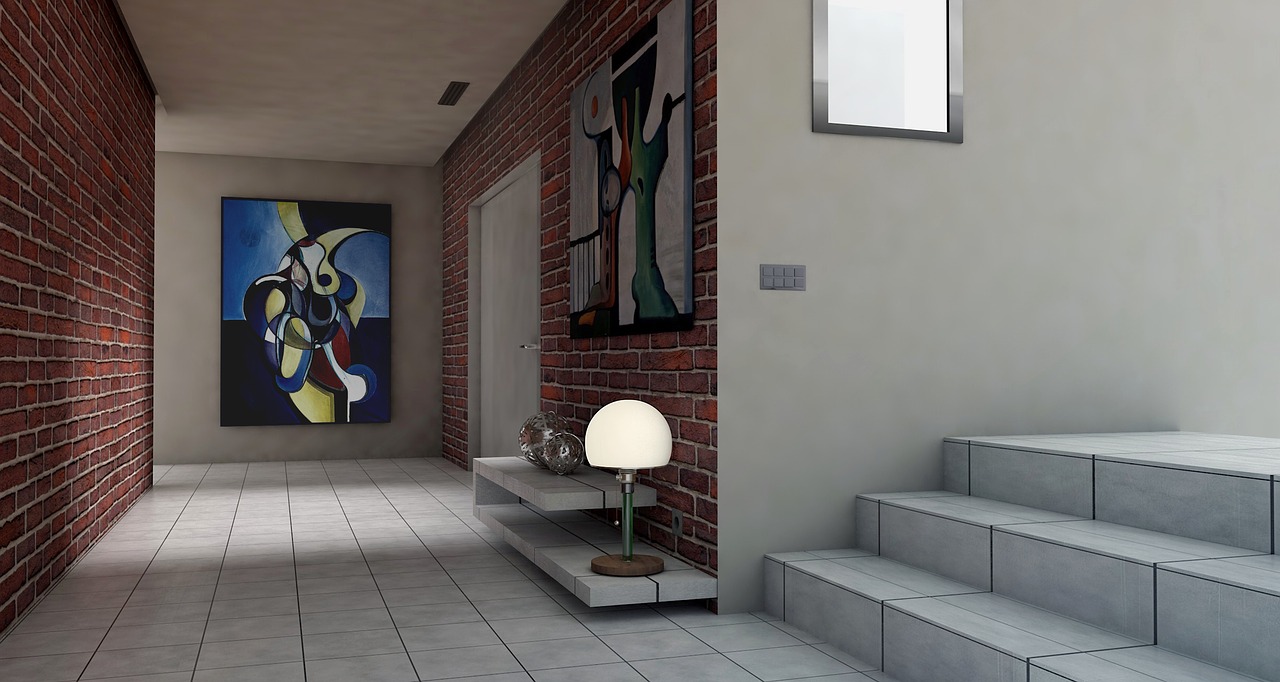
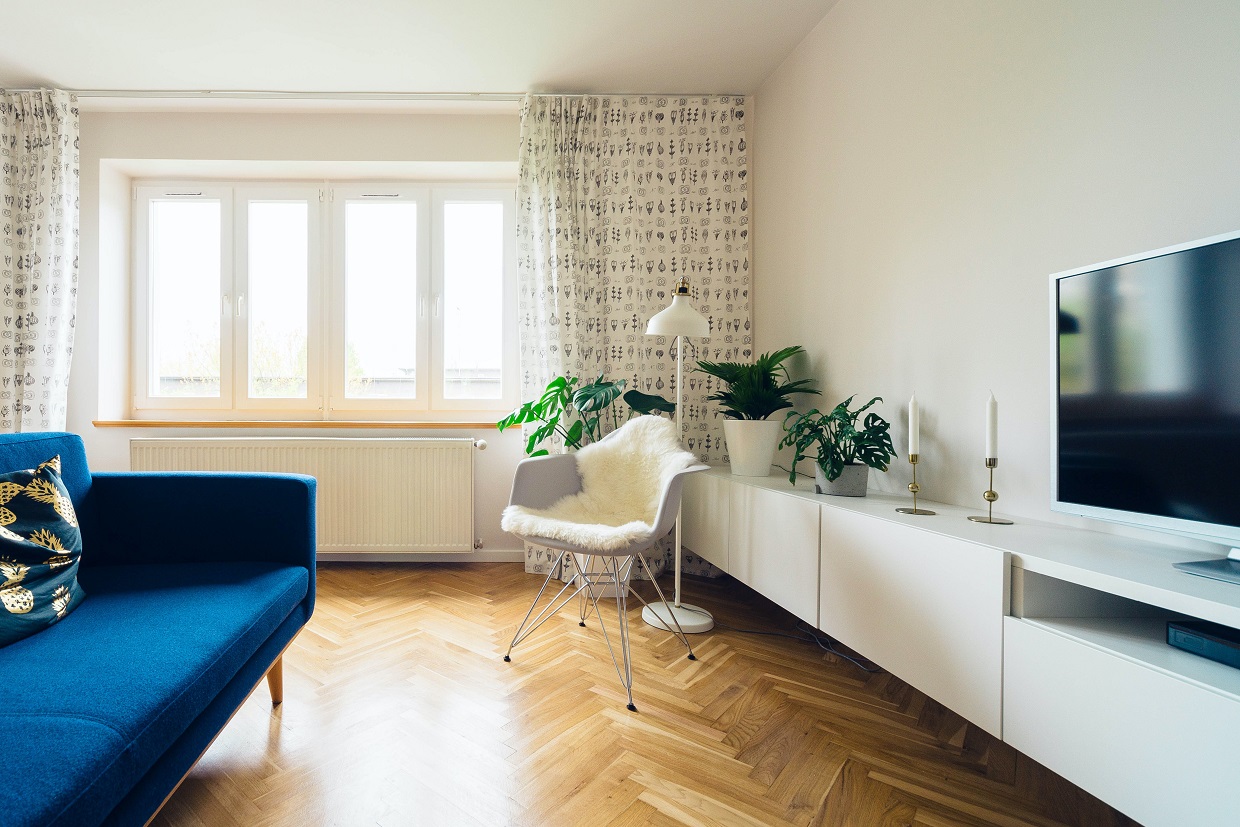
Not so long ago, herringbone panels were associated with apartments straight out of the People’s Republic of Poland, and today they are one of the most fashionable and popular ways to elegantly complete an interior.
Floor panels are a cheaper alternative for wooden floors. It is because of the price that laminate is very popular, but among their advantages we can also mention: durability, easy care and wide choice of colors and patterns. Moreover, laying laminate is so easy that you can do it yourself, without the help of a professional, you just need to prepare properly.
When buying laminate, remember to take a few more pieces. The spare can come in handy if some panels get scratched or damaged or if you do something wrong – especially in rooms with unusual shape and those with many pipes or bevels.
Panels should be laid only after certain renovation works have been completed. It is best if the walls are plastered, primed and smoothed. It is also worth painting them with at least a white primer. Thanks to earlier preparation of the ceiling and walls we will avoid possible dirt or even damage to newly laid panels. Before installing the panels, the substrate should also be properly prepared. The surface must be cleaned, dry and even, without any bulges that could affect the inferior strength of the panels.
It is worth remembering that after purchasing the panels you need to give them time to acclimatize. Panels in their original packaging are placed horizontally in the room where the floor will be installed and left for about 48 hours. The room temperature should not be lower than 18℃ and the air humidity must be between 50% and 70%.
In order to lay herringbone panels yourself, you need to get the necessary tools. Prepare:
It is recommended to install the panels in a narrow herringbone pattern in smaller rooms and a wide herringbone pattern in larger rooms.
After preparing the subfloor, i.e. levelling it and cleaning it of dirt and dust, lay a vapour-barrier foil or quartz mat on it. The foil can be stuck to the substrate with a double-sided adhesive tape. When laying the foil, remember to leave about a 20-cm overlap. Then you can lay a levelling underlay.
Before installing the panels, it is necessary to determine exactly how to lay them. Plan the starting point, so that you don’t go backwards, and the direction of laying. Also take into account leaving an expansion gap, which at walls and other obstacles must be 12 mm.
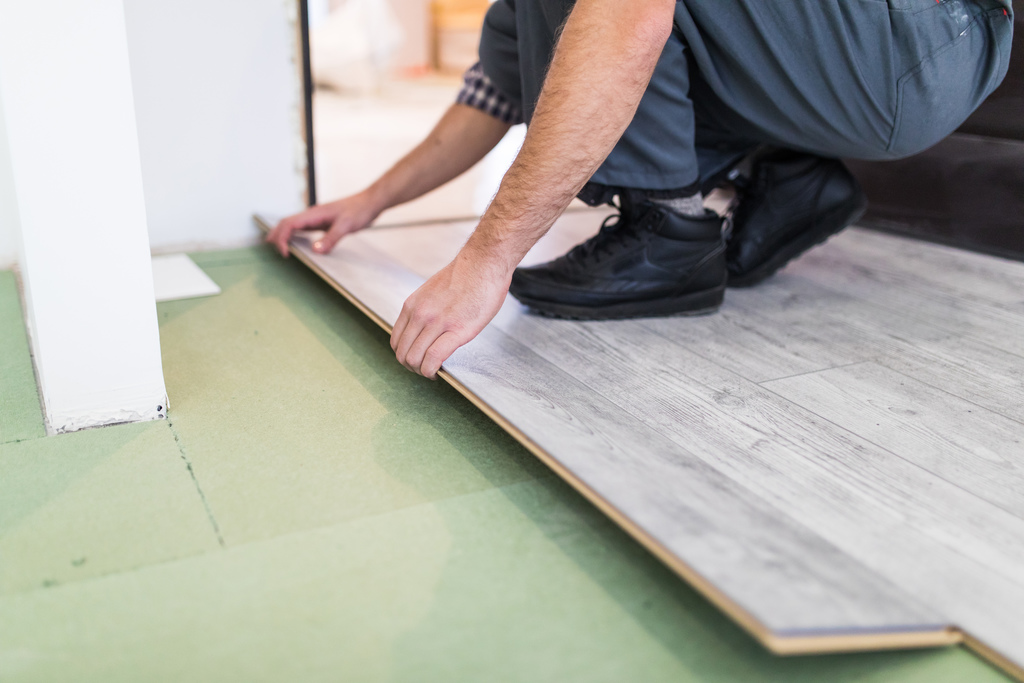
Begin laying the panels in a herringbone pattern by cutting them into a triangle, which you place against the wall. Then install the panels one by one – remember to do it alternately, on the left and right side, on the whole floor surface. Finally, install the skirting boards.
In case of mistake, it may be necessary to remove badly laid panels. To do this, use a flat tool to unlock the 5G lock. This will prevent you from damaging the panels.
Main photo: Jarek Ceborski/unsplash.com